
What you will need
1. A Google account (a free Gmail account works). You will create the spreadsheet inside this account. 2. Your Telzino API credentials. You need three items from your Telzino account: an outbound calling agent setup with the desired call instructions, the Agent ID of the outbound agent, a Client ID, a Client Secret. These are found in your Telzino dashboard under the Account Settings menu. 3. The script file (google_script_for_telzino_outbound_call_trigger.gs) that can be downloaded from this link. 4. About 20 minutes of uninterrupted time.Part 1 · Create the spreadsheet
1. Open a web browser and go to Google Docs → sheets.new. This creates a brand-new, empty Google Sheet. 2. Click the words “Untitled spreadsheet” in the top-left corner and give it a name, for example “Booking Confirmations”. 3. Leave this tab open. You will come back to it.Part 2 · Add the automation
1. In your spreadsheet, click the Extensions menu at the top, then click Apps Script. A new tab opens — this is the editor where the automation lives. 2. You will see a small amount of sample code. Click anywhere in that code, select everything (Ctrl+A on Windows, or Cmd+A on a Mac), and delete it so the page is empty.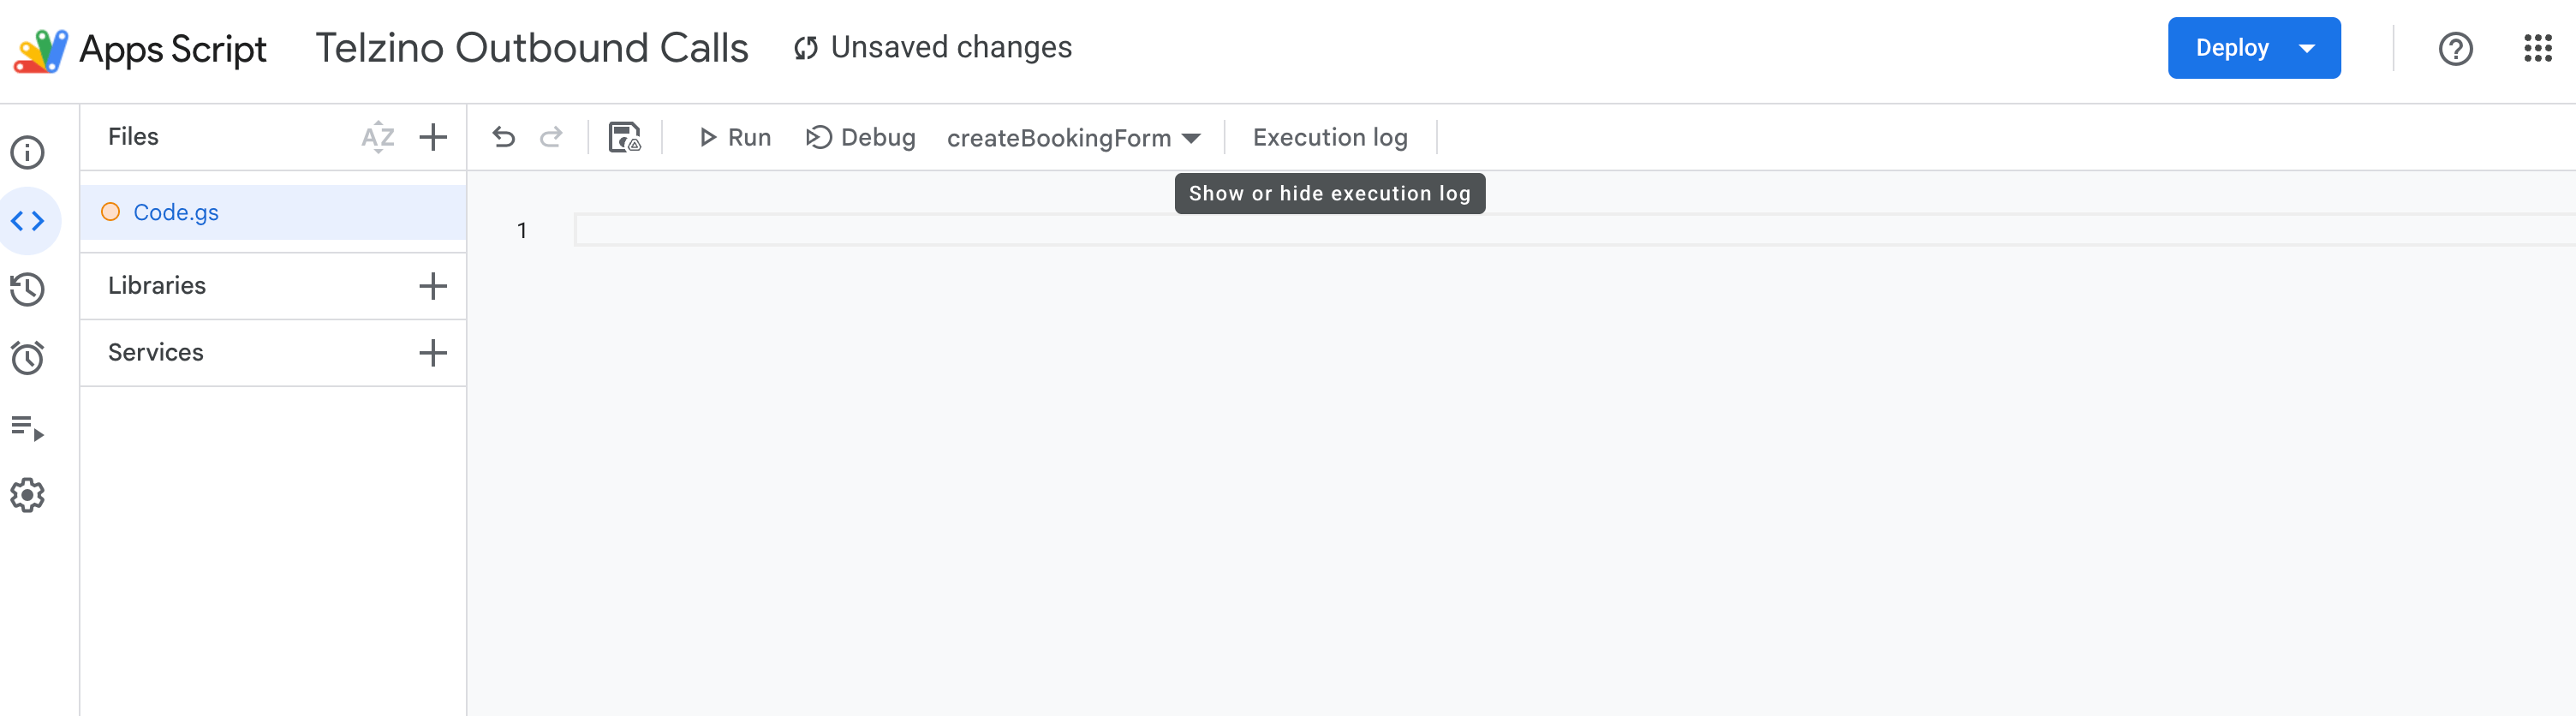
Part 3 · Create the columns
The script can build the spreadsheet layout for you, so the columns are always named correctly. 1. At the top of the Apps Script editor there is a dropdown menu that lists function names (it may say setupSheet or another name). Click it and choose setupSheet.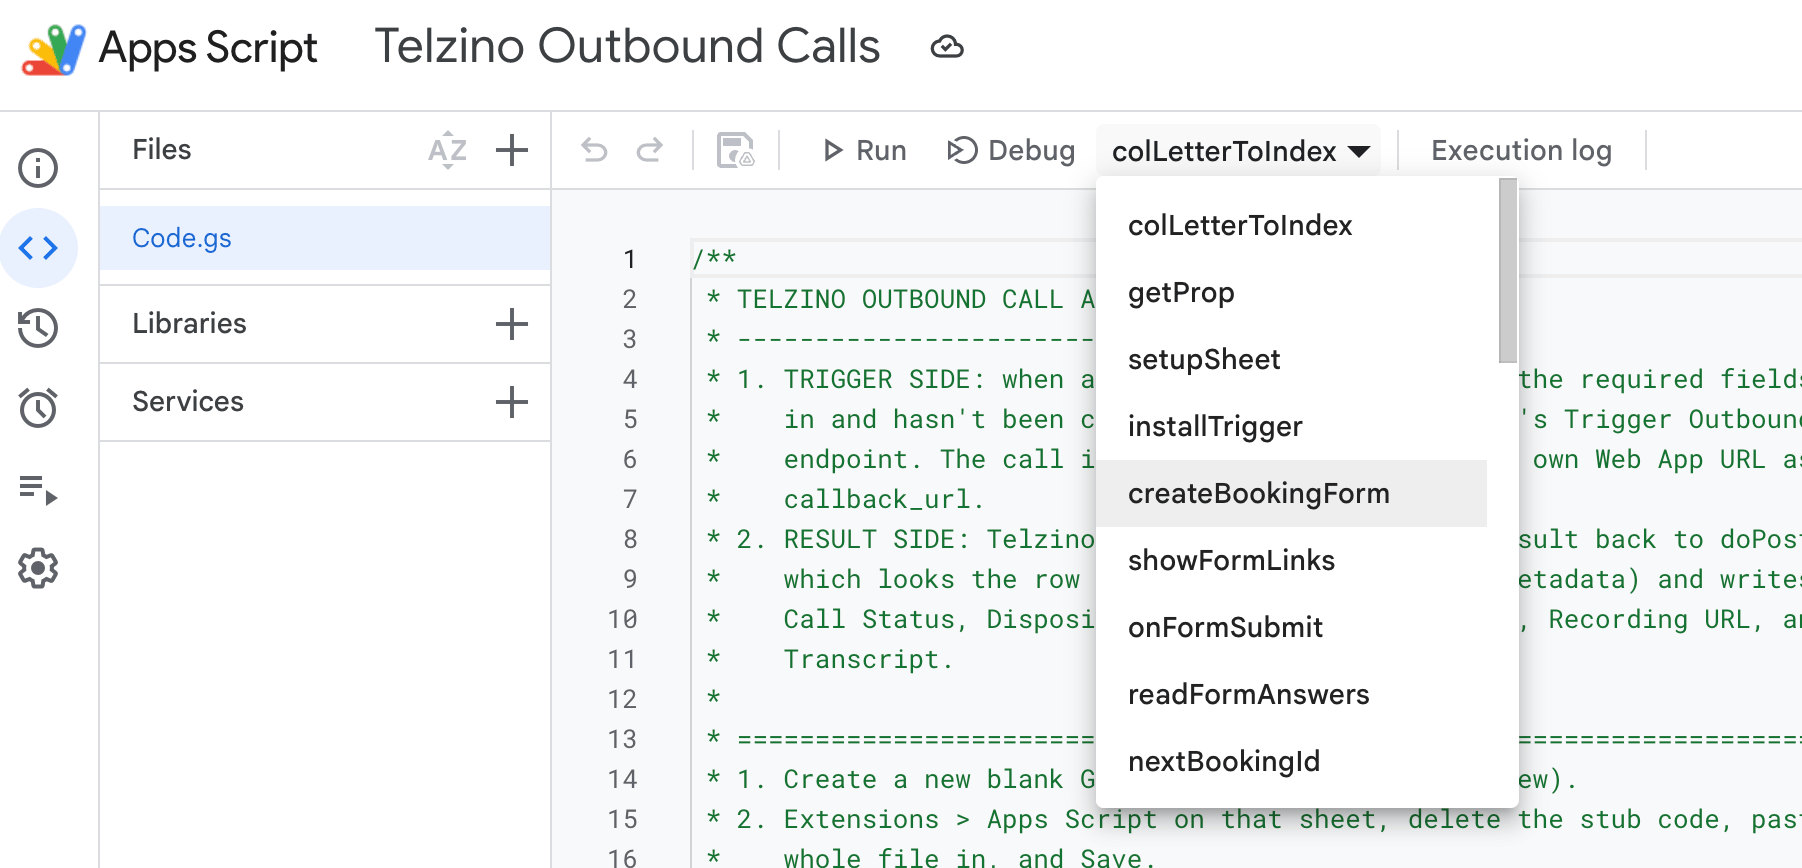
Part 4 · Enter your Telzino credentials
These are stored privately inside the script — never typed into the spreadsheet itself. 1. In the Apps Script editor, click the gear icon (Project Settings) in the left-hand menu. 2. Scroll down to the Script Properties section and click Add script property. 3. Add each of the properties in the table below. Type the name exactly as shown (they are case-sensitive) in the left box, and the value in the right box. Click Add script property again for each new one.
4. Click Save script properties.
Note: There is a fifth property, WEB_APP_URL, that you will add in the next part — it does not exist yet.
Part 5 · Recording the call results
This step gives Telzino a private address to send call results back to, so your spreadsheet fills in automatically. 1. In the Apps Script editor, click the blue Deploy button (top-right) → New deployment. 2. Click the gear icon next to “Select type” and choose Web app. 3. Under “Execute as” choose Me. Under “Who has access” choose Anyone. 4. Click Deploy. If asked, approve the permissions again. 5. You will see a Web app URL that ends in /exec. Click Copy. 6. Go back to Project Settings → Script Properties and add one more property:
Example: https://script.google.com/macros/s/AKfycb…/exec?secret=YOUR_SECRET_HERE
Replace YOUR_SECRET_HERE with the exact same text you entered for CALLBACK_SECRET in Part 4. Then click Save script properties.
**If you ever change the script later: ** the results connection only updates when you make a new deployment (Deploy → New deployment). Simply editing and saving is not enough for this one piece.
Part 6 · Set your calling hours
By default, calls are only placed on weekdays between 9:00 AM and 8:00 PM Eastern time. A booking added outside those hours is held and called automatically when the window next opens. You can change these hours. 1. In the Apps Script editor, look near the top of the script for the section labelled CALLING_WINDOW. 2. Adjust these values as needed: TIMEZONE — your local timezone, e.g. ‘America/New_York’ or ‘America/Chicago’. START and END — the earliest and latest call times, in 24-hour format (hour 9 = 9 AM, hour 20 = 8 PM). ALLOWED_DAYS — which days calls may go out. 1 = Monday through 7 = Sunday. [1,2,3,4,5] means weekdays only. 3. Click Save when done. Keep your timezones matched: Set the timezone in three places to the same zone — the CALLING_WINDOW above, the spreadsheet (File → Settings), and the Apps Script project (gear icon → Time zone). This keeps appointment dates and times accurate on the call.Part 7 · Turn it on
1. In the function dropdown at the top of the editor, choose installTrigger.- Click Run. Approve permissions if asked.