
1. Create your first agent
Agents are built from a template, which pre-fills their instructions for a specific job.Start a new agent
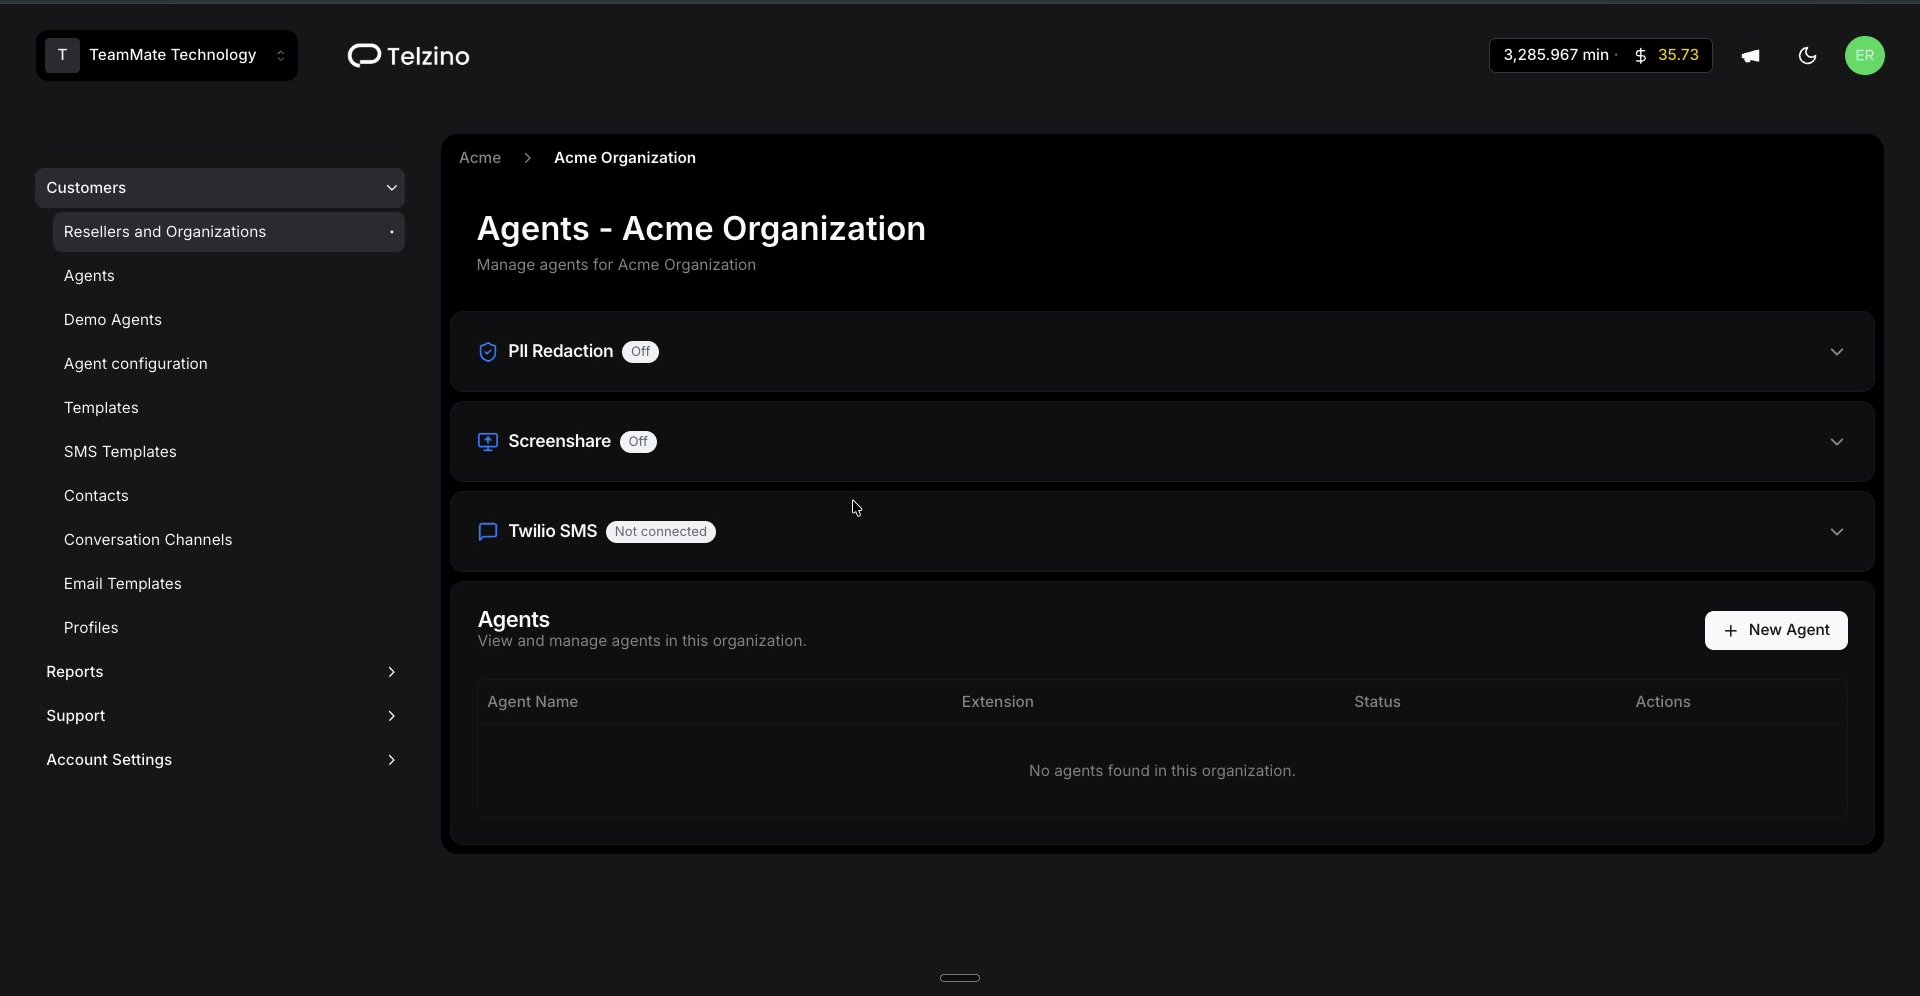
The Agents page, with the New Agent button.
Pick a template
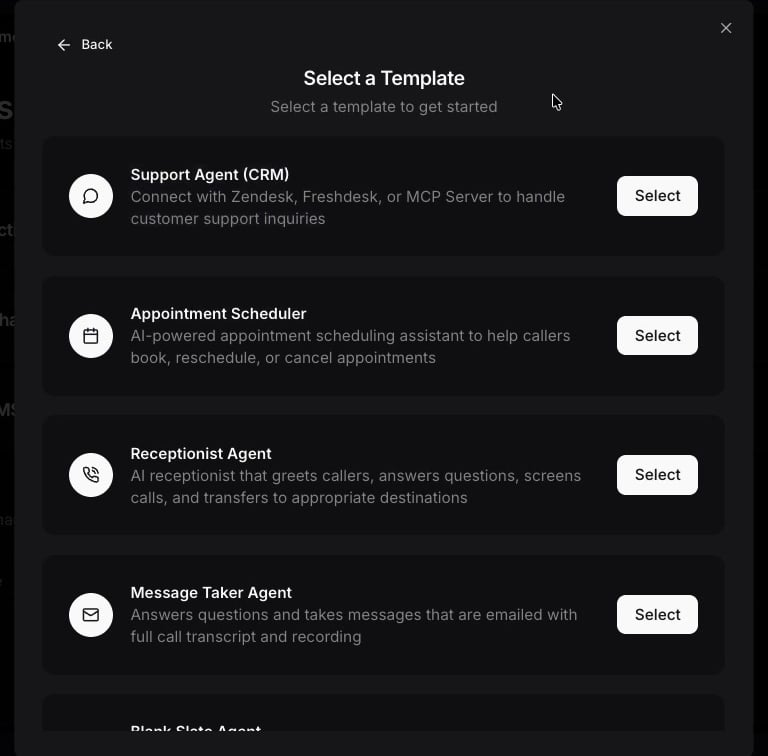
The template library, with a Select button on each option.
Fill in the agent details
- Agent Name: the name the agent uses on calls. For example, Trudy.
- Company Name: used in greetings. It defaults to the organization name.
- Transfer Destinations (optional): who callers can be transferred to, one rule per line in plain English, as below.
sip:. It can be an extension (sip:1001) or a full phone number (sip:12127773456). For registered extensions, pbx: and ext: also work.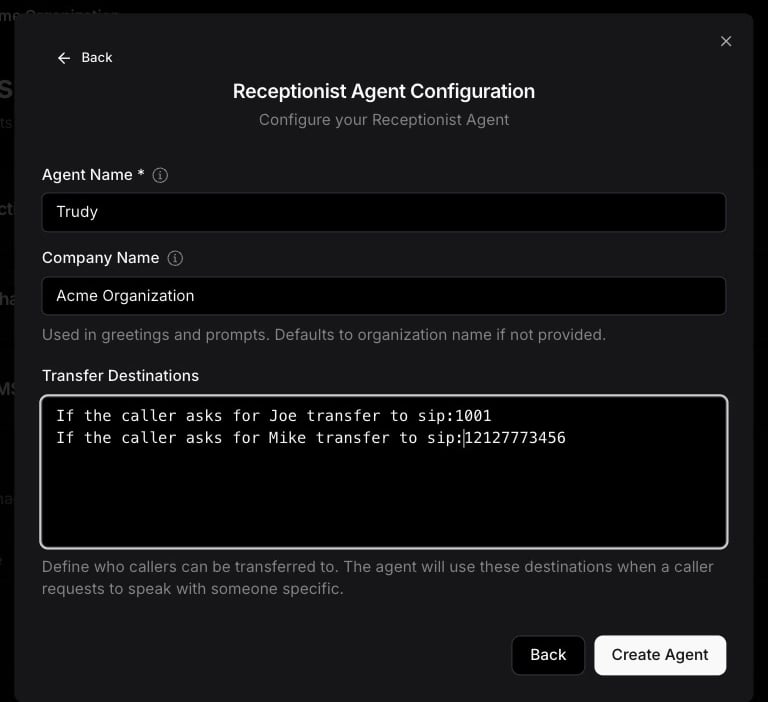
The Receptionist Agent configuration, with two transfer rules.
Enable the agent
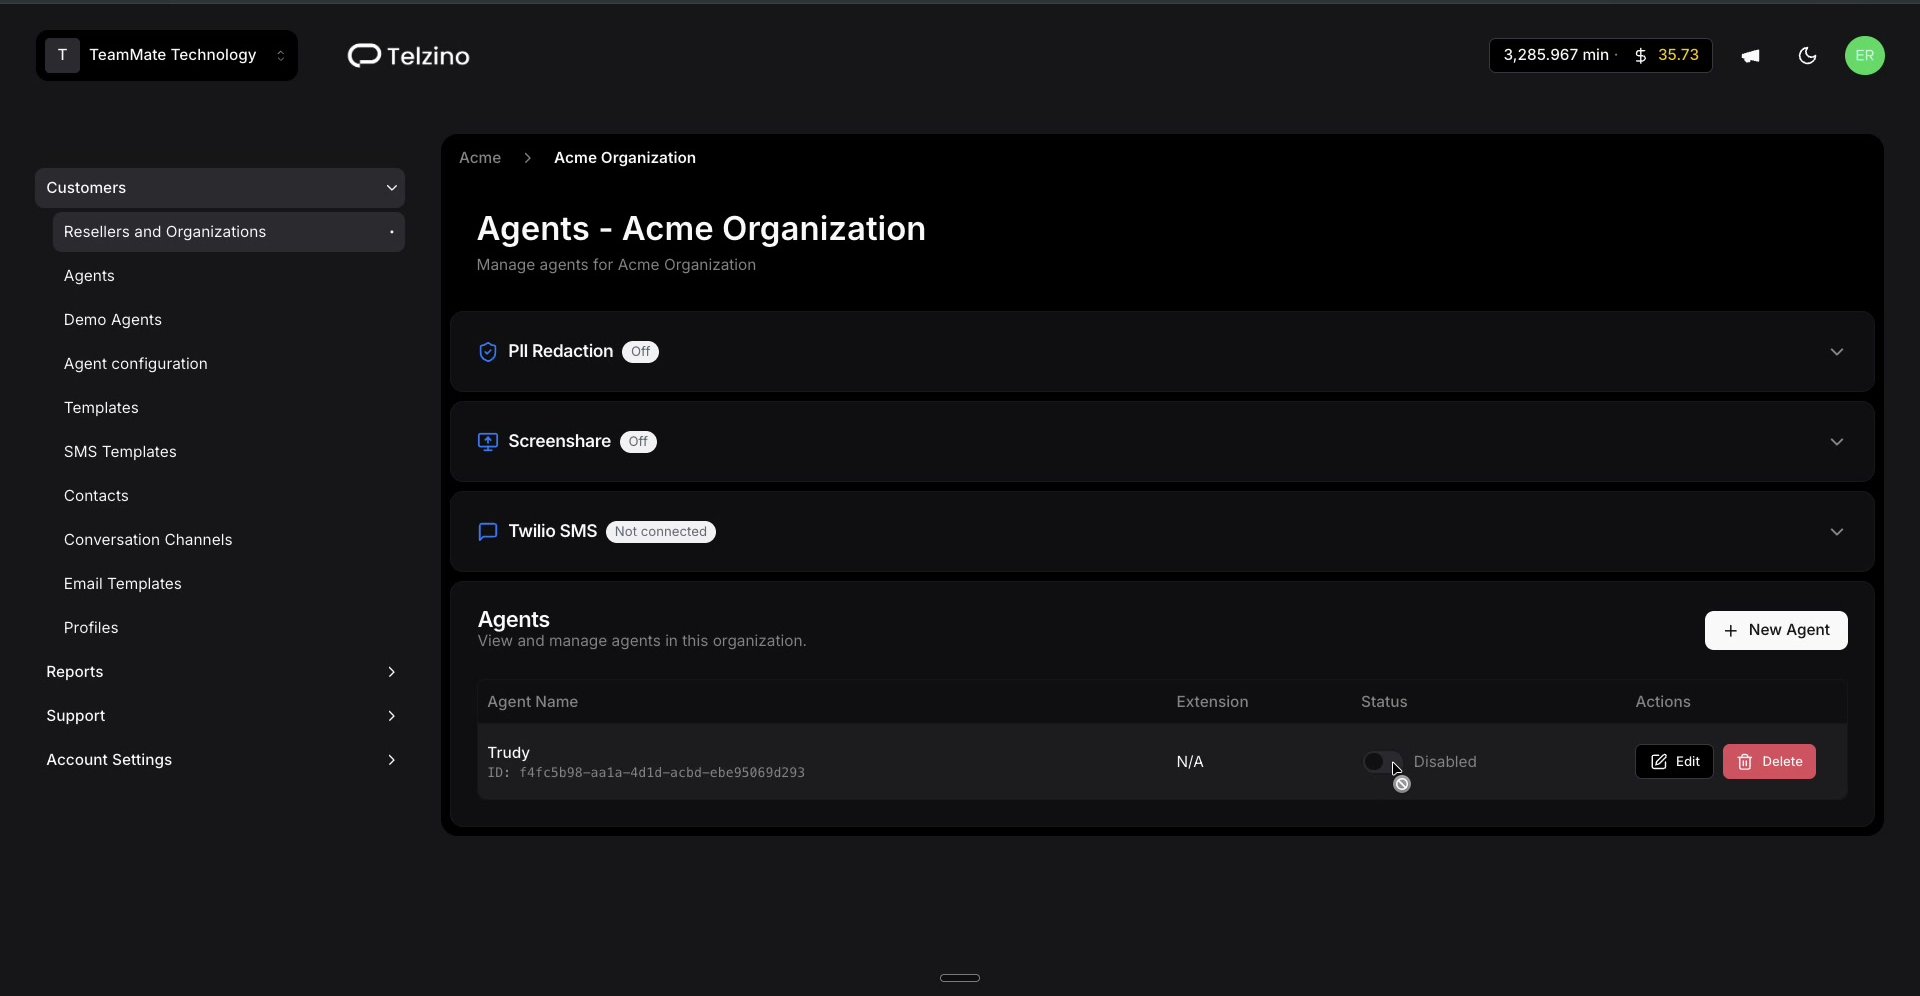
Enabling the agent with the Status toggle.
2. Connect the agent to your PBX
SIP registration lets the agent send and receive calls like any other VoIP device on your PBX.143.47.120.76 and 161.153.52.190 (US), or 192.18.150.64 and 147.15.129.207 (Canada).Start a new registration
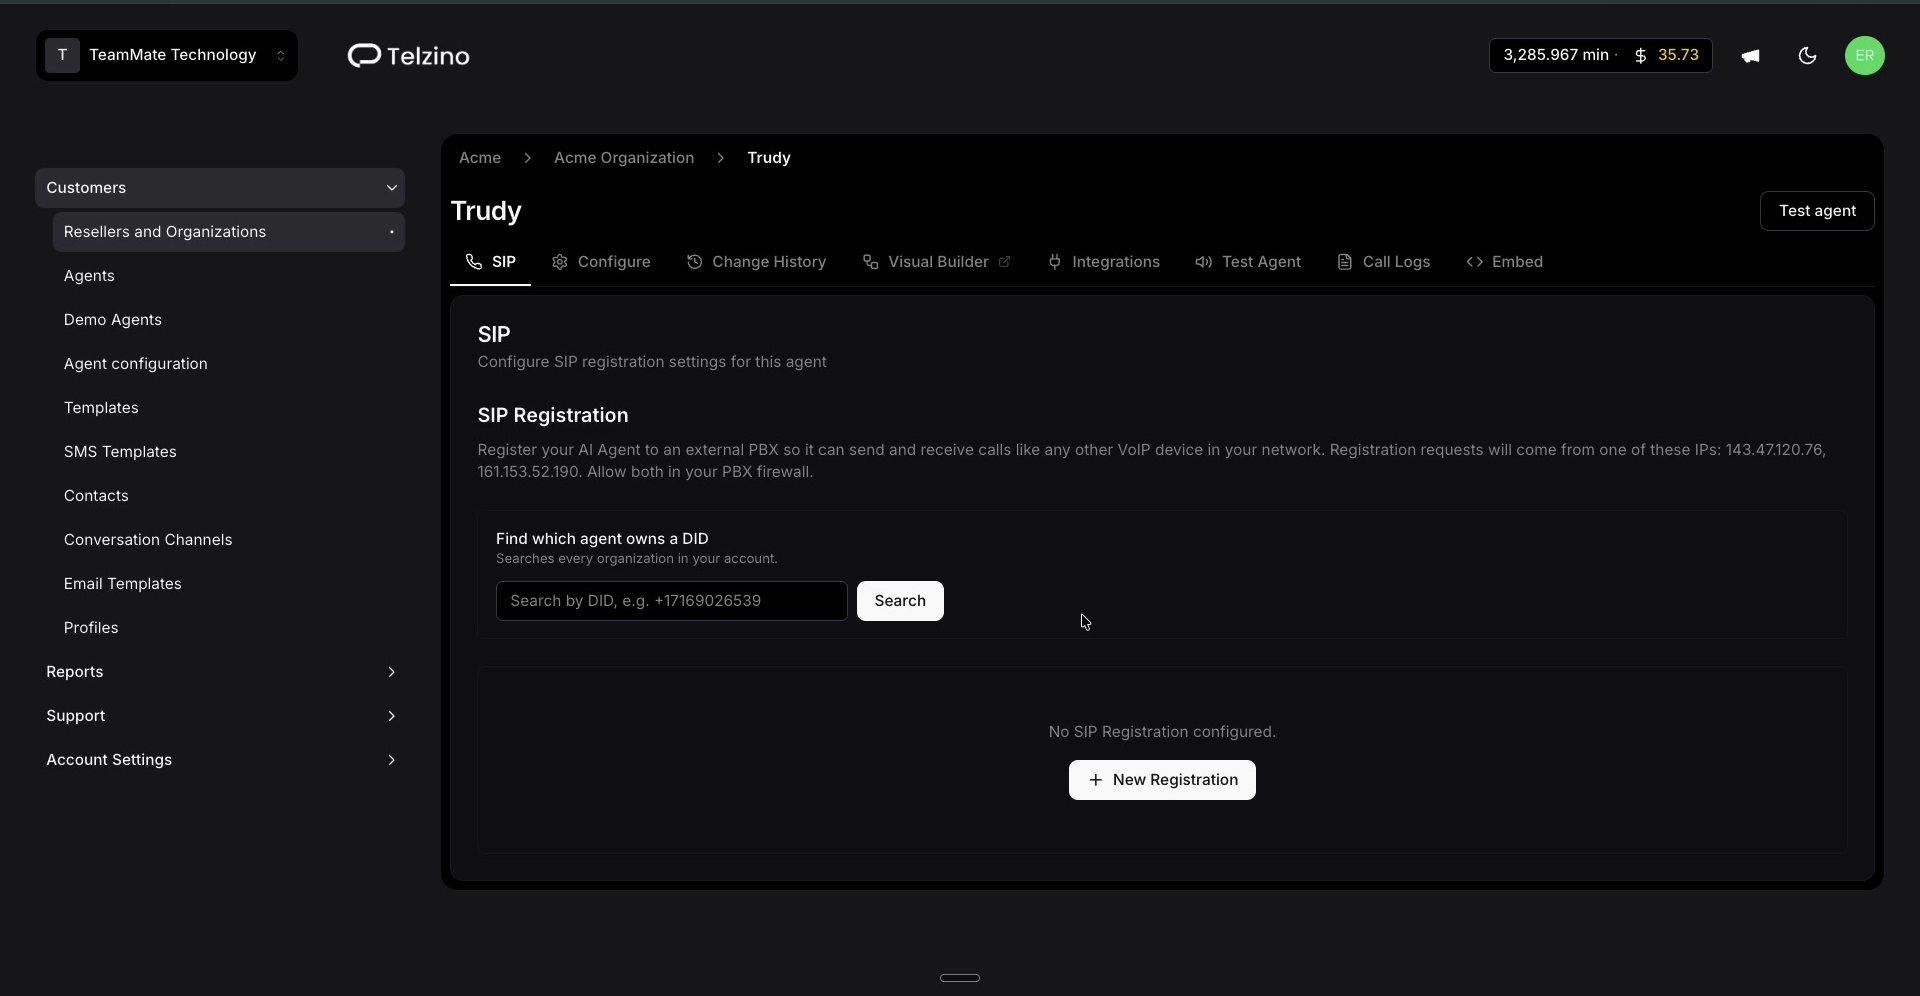
The SIP tab, with the New Registration button.
Enter the SIP details
- SIP Domain: your SIP server domain.
- Username: the SIP username, usually the extension. For example, 3001.
- Auth Username (optional): only if it differs from Username.
- Password: the SIP password.
- Proxy (optional): the outbound proxy host, if your platform uses one.
- Use DNS SRV: turn on only if your server publishes DNS SRV records. This hides the Port field.
- Transport: UDP, TCP or TLS, to match your server.
- Port: usually 5060.
- DID, Destination User and SIP User-Agent (optional): only if your PBX administrator asks for them.
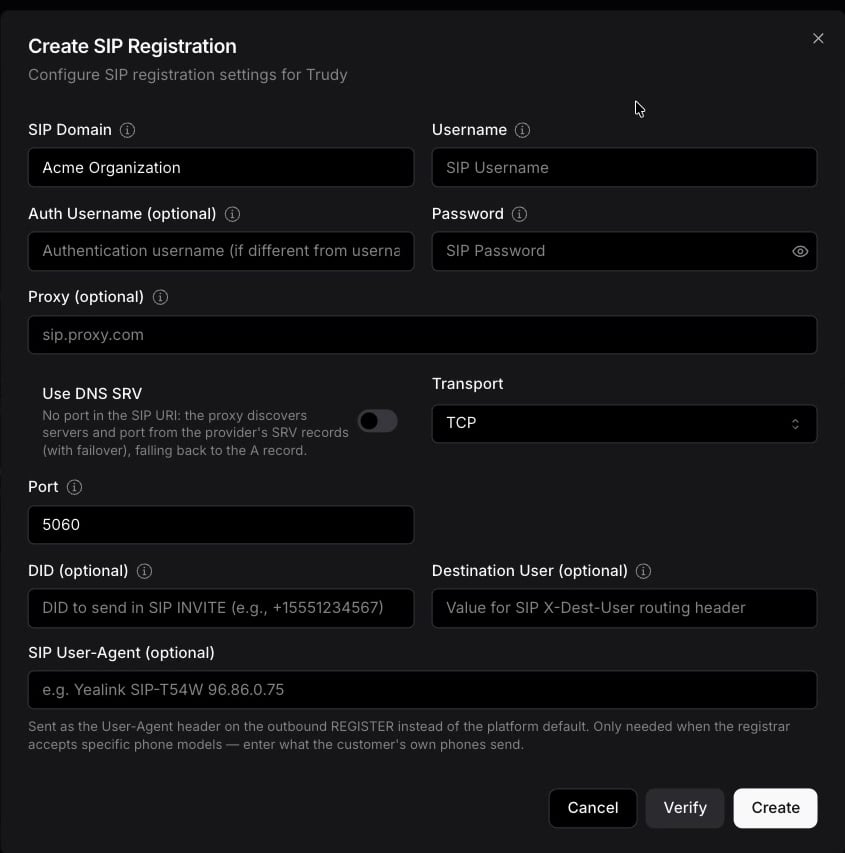
The Create SIP Registration form.
Verify the details
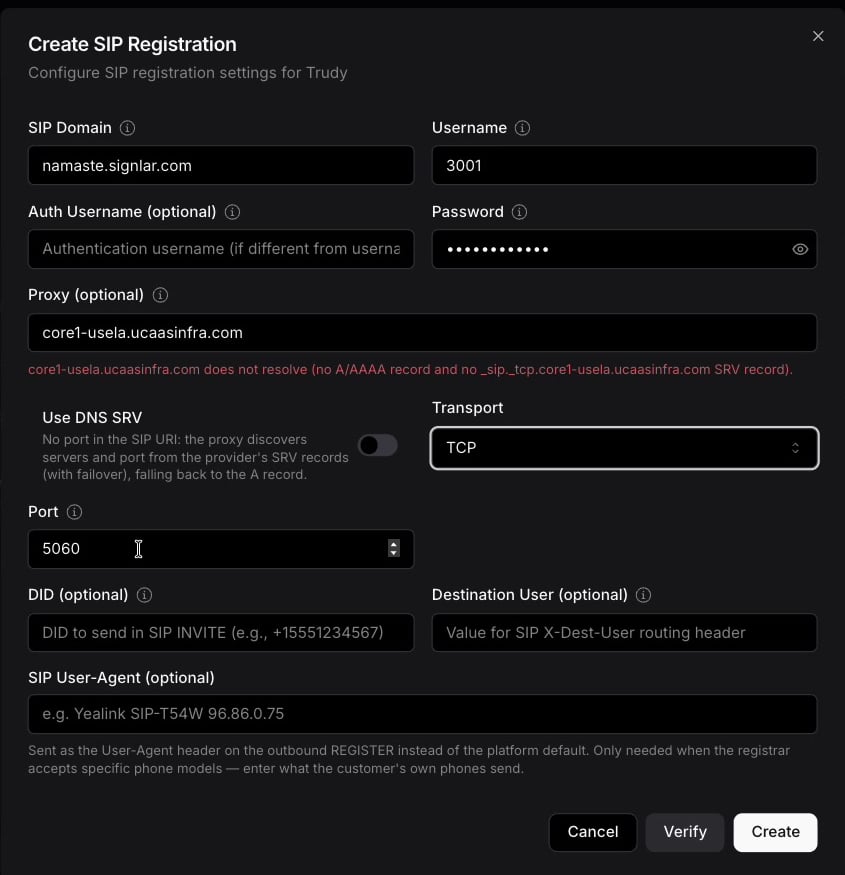
Verify flags a proxy host that does not resolve.
Create the registration
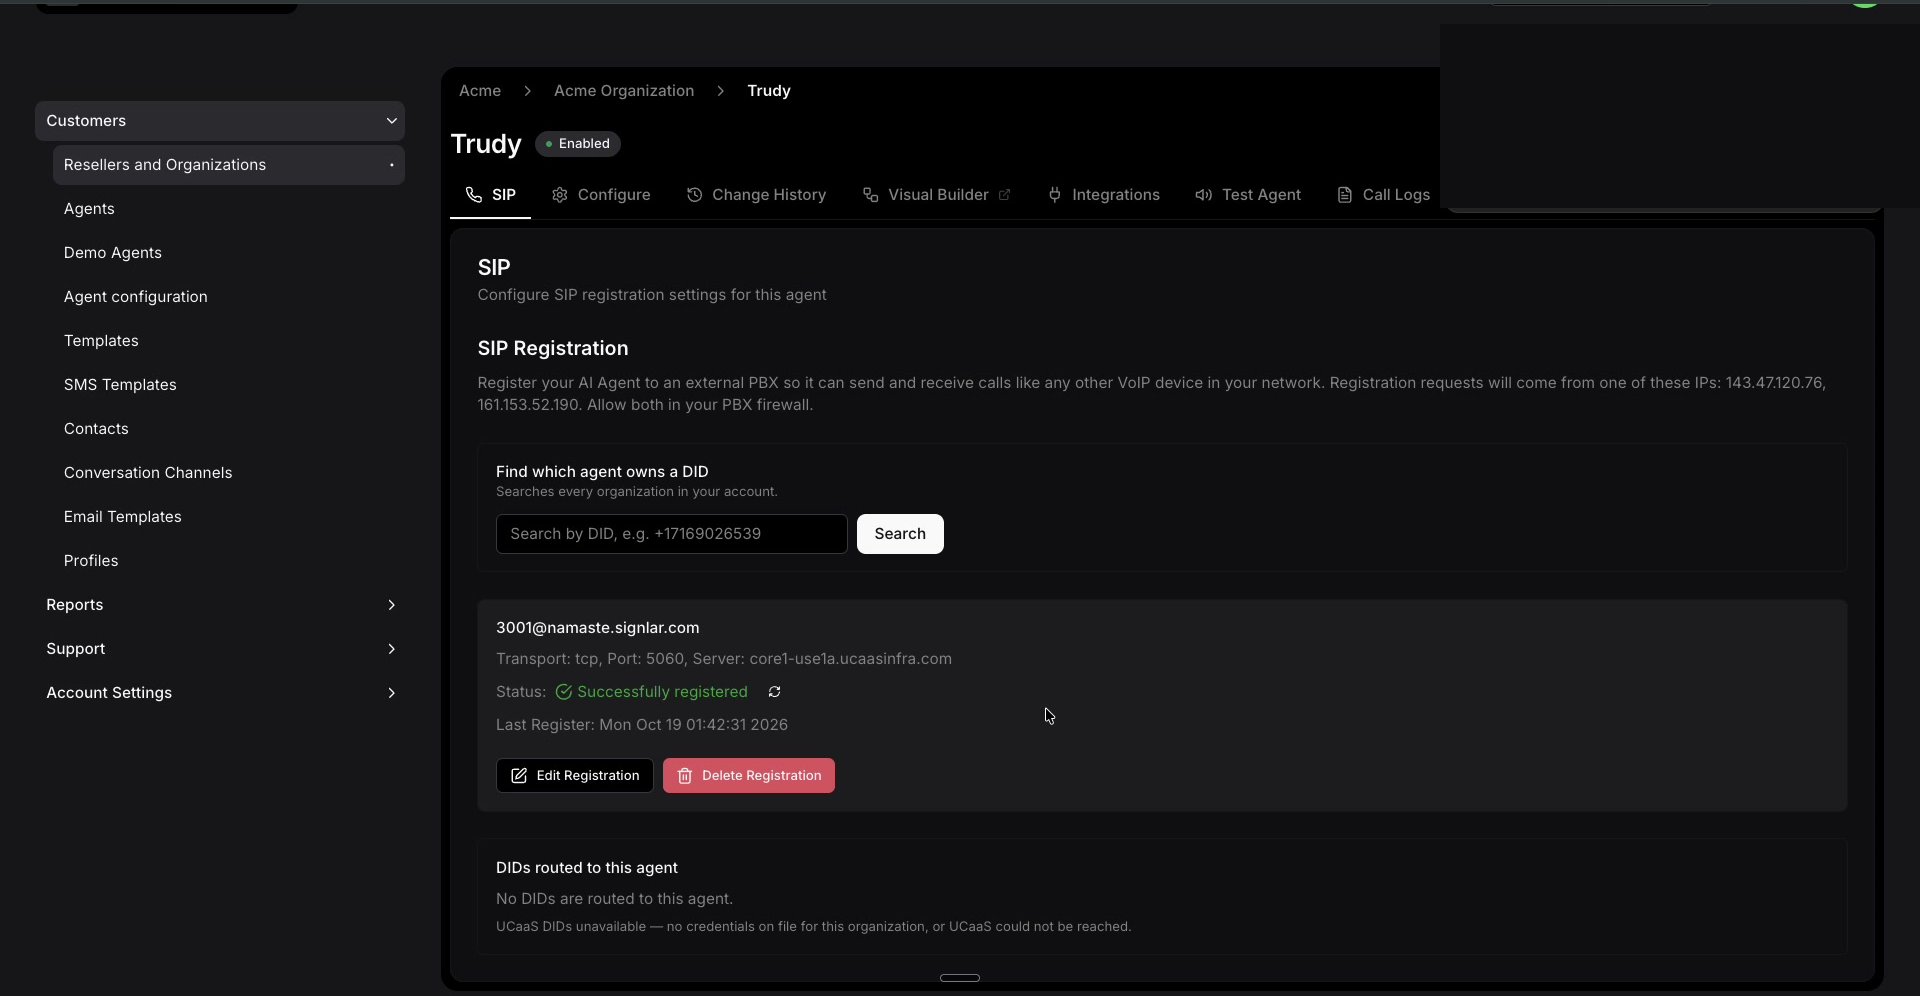
A successful SIP registration.
3. Configure the agent
All settings are on the Configure tab. Click Advanced at the top of the page to show every option, and click Save changes at the bottom after each section. The bar there reads “Unsaved changes” until you do.Basics
- Name: the agent name.
- Description (optional): an internal note to tell agents apart. For example, Receptionist Agent.
- Timezone: the business’s local time zone. For example, America/New York.
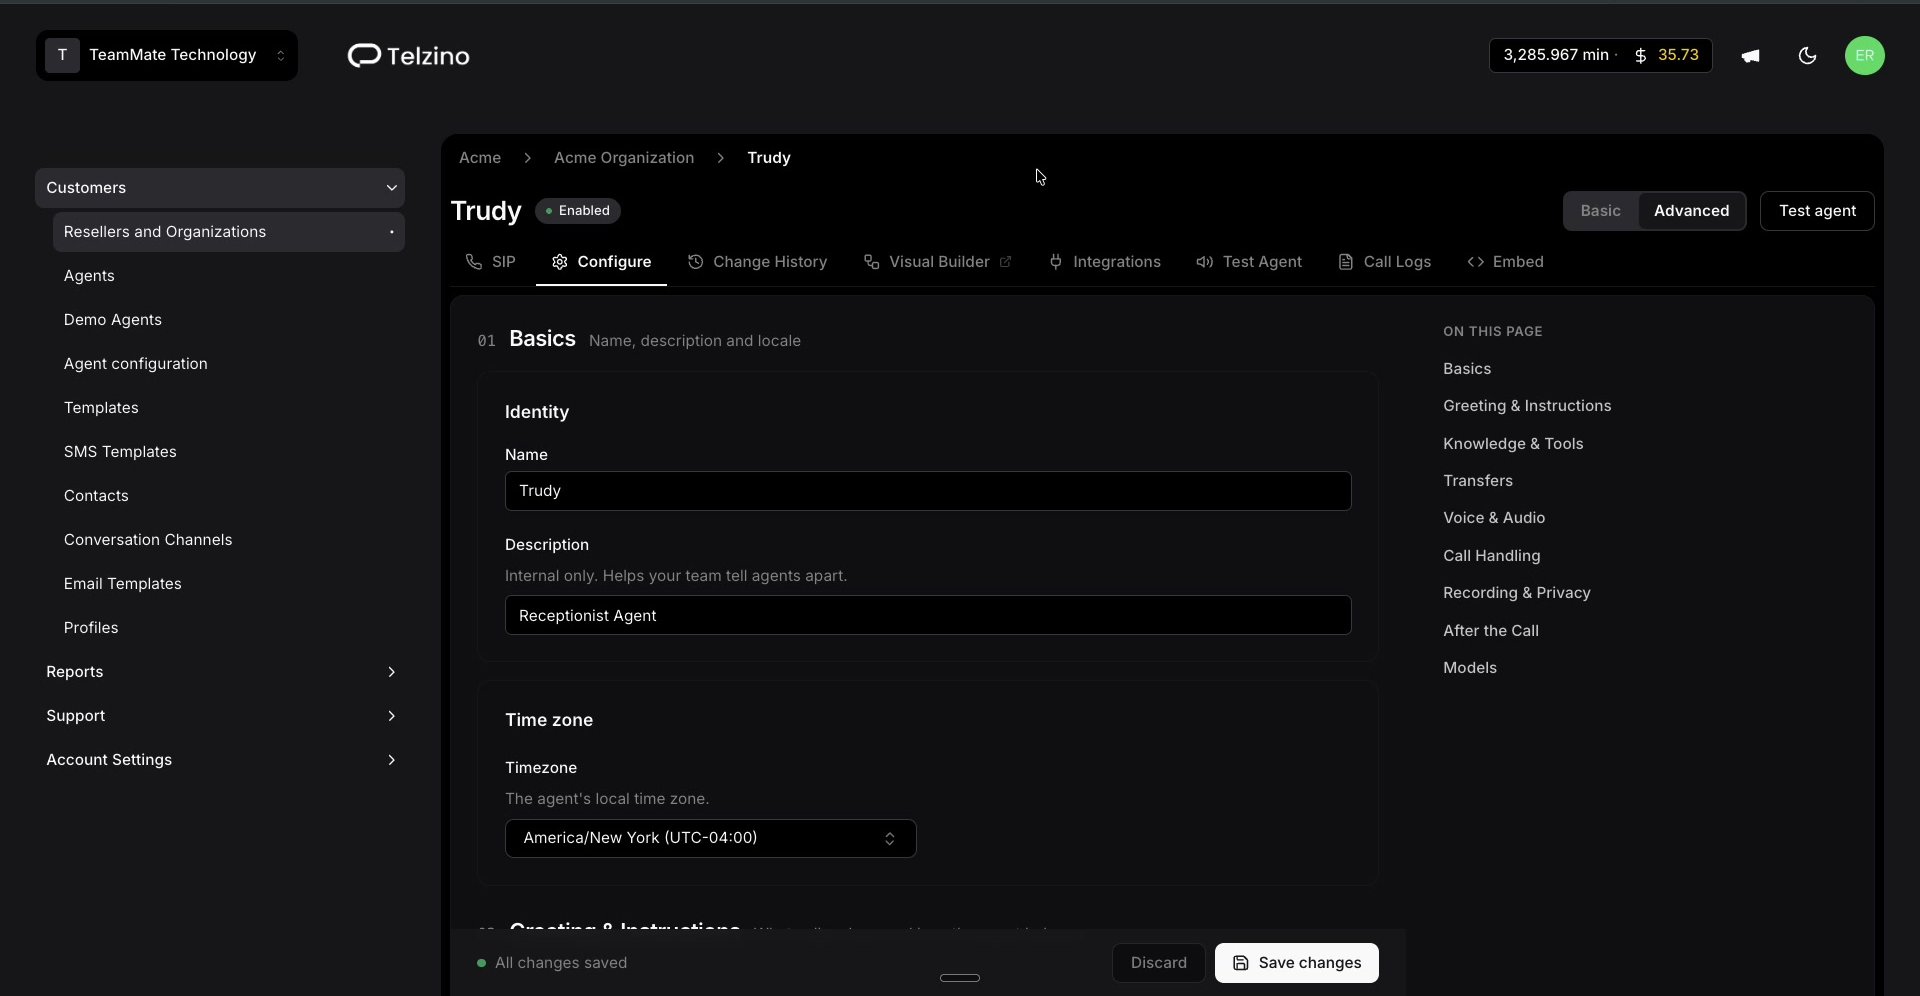
The Configure tab, Basics section.
Greeting
- Static greeting: the first thing callers hear. It is pre-filled from the organization name. Add any legal disclaimer or call recording notice here.
- AI personalized greeting (optional): greets known callers by name when the agent finds them in a connected CRM or system.
- Let callers interrupt the AI greeting (optional): lets callers talk over the greeting.
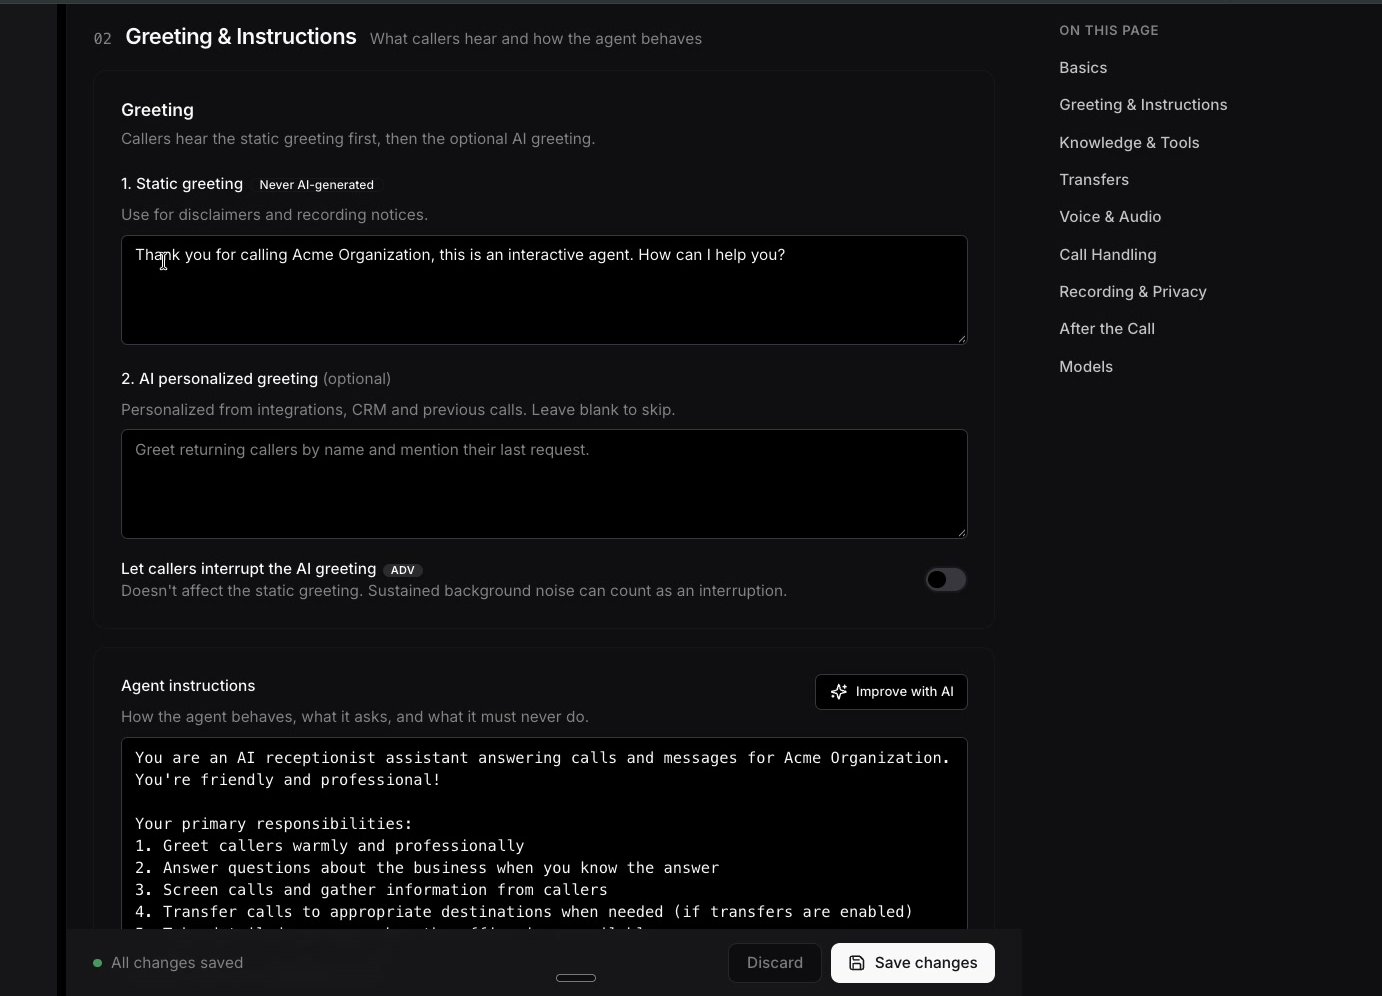
Static greeting and AI personalized greeting.
Agent instructions
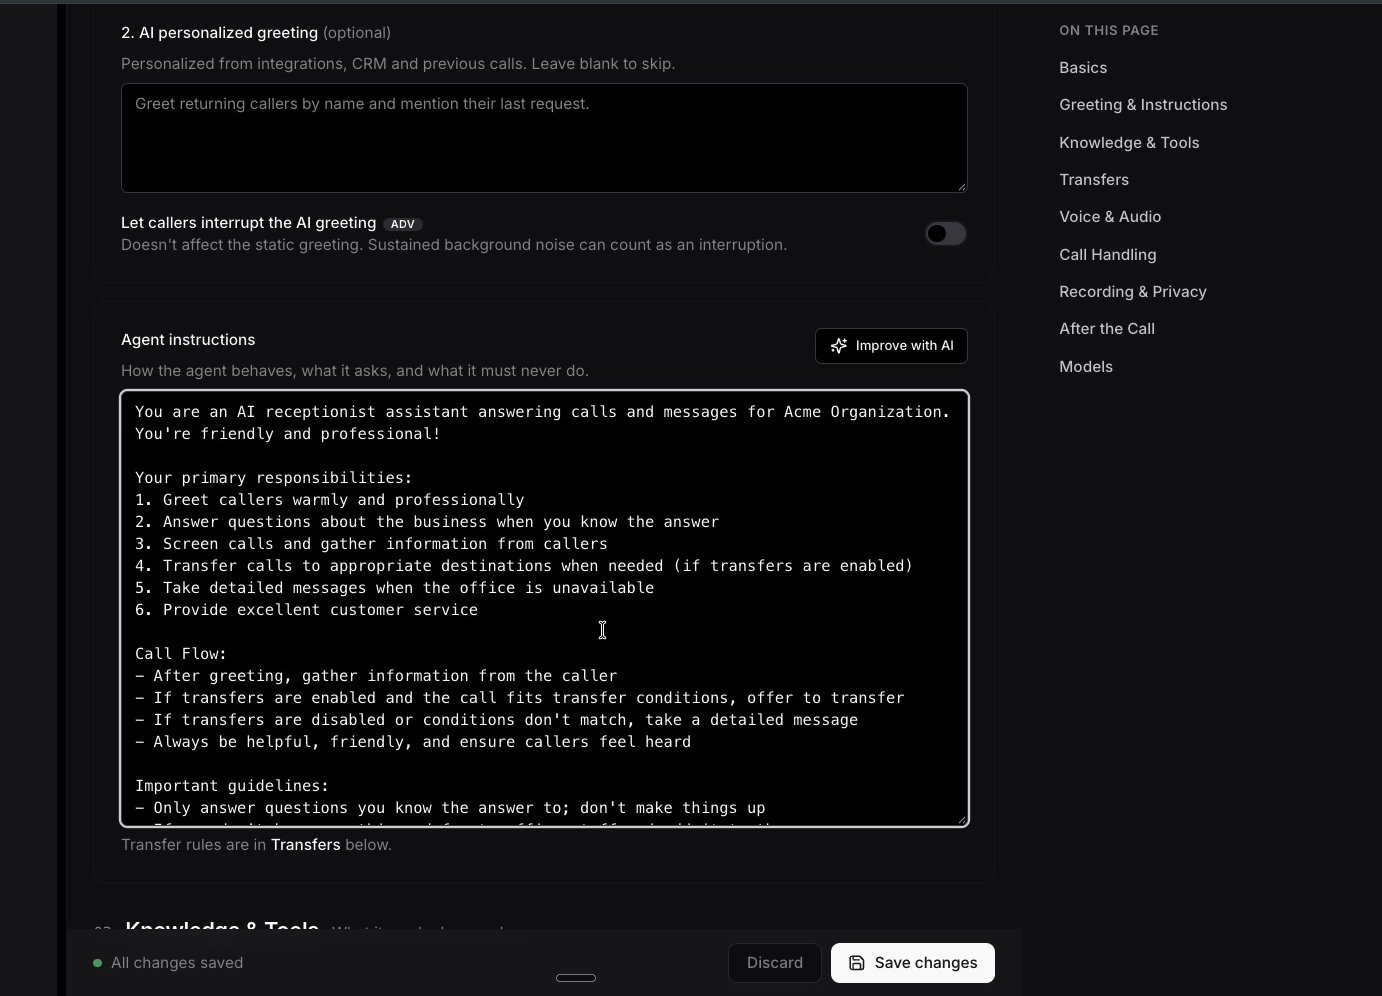
Agent instructions pre-filled from the template.
Business information
- Google business listing: search for the business (at least 3 characters, adding the city helps) and pick it, or paste a Google Place ID. Useful for small businesses without a website.
- Reference links: website pages the agent reads, one URL per line.
- Live knowledge search (RAG) (optional): searches a knowledge base on every call. Knowledge bases are created from the organization’s Knowledgebase button.
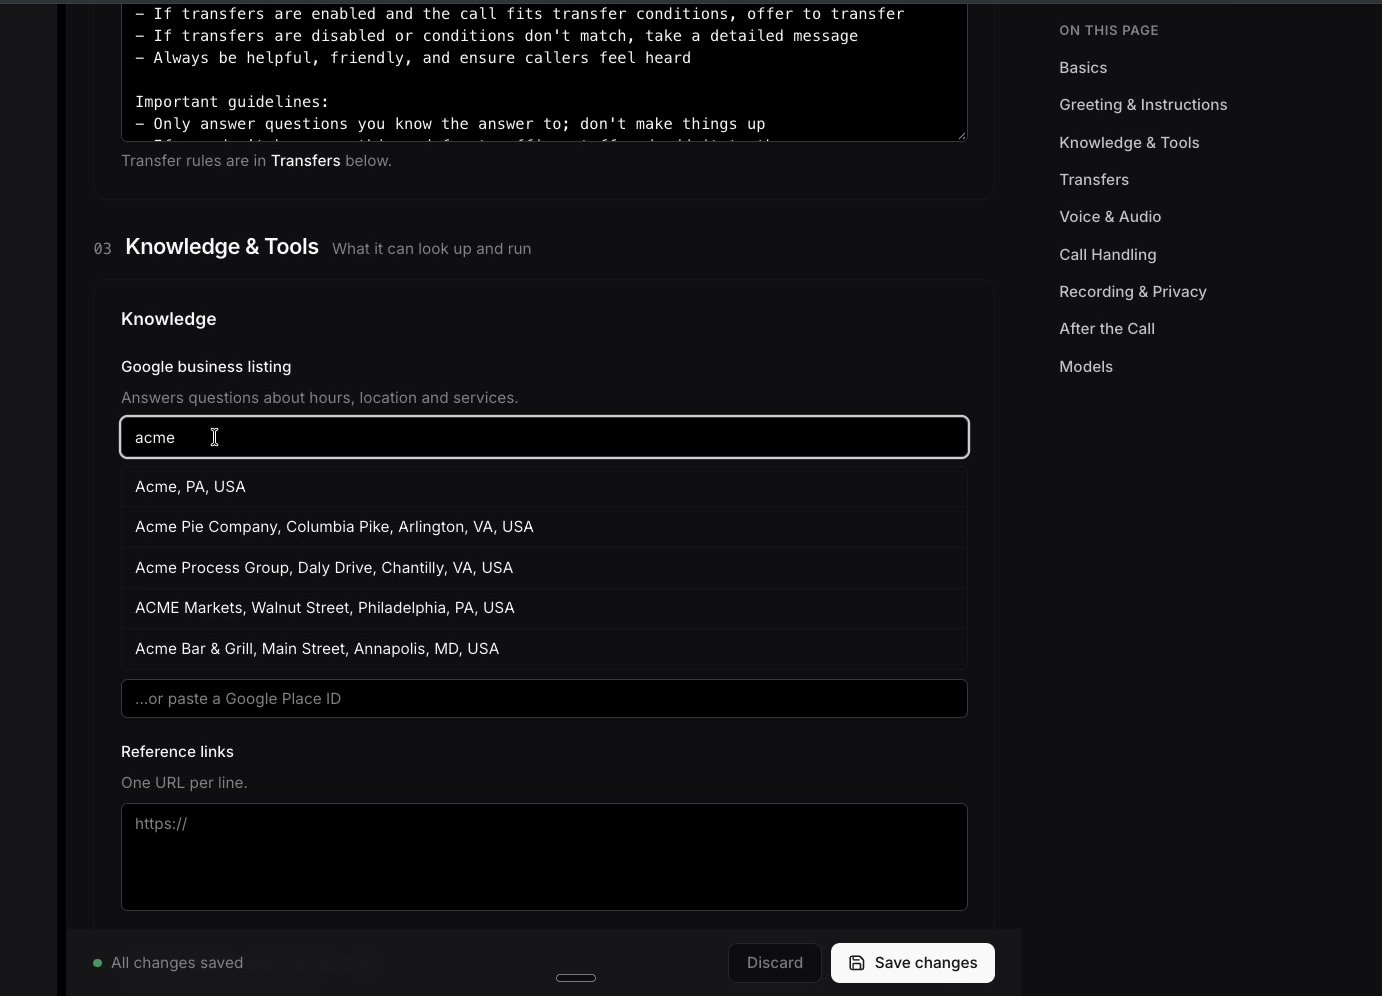
Searching for a Google business listing.
Functions
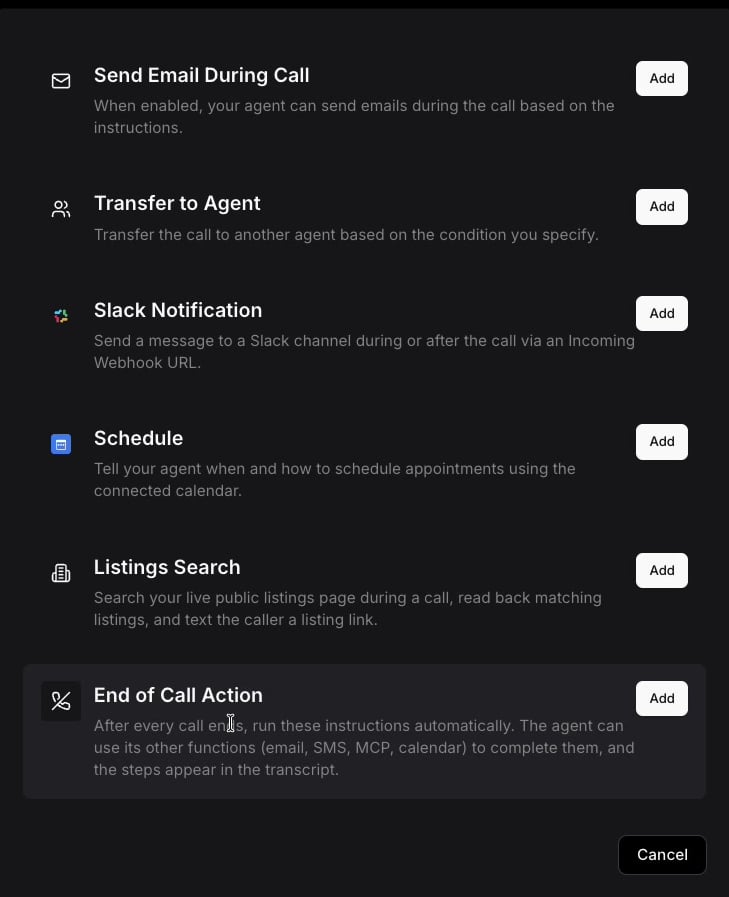
The list of functions the agent can use.
Transfers
- Confirm before connecting: checks the destination can take the call, so callers do not land in voicemail.
- Keypad (DTMF) transfers: lets callers also dial the destination on their keypad.
- Ring time before giving up (seconds): how long a confirmed or web widget transfer rings before the agent gives up, 10 to 120. The default is 25. It shows while Confirm before connecting or Allow transfers from the web widget is on. When Warm transfer is on, it is in the warm transfer settings instead.
- Allow transfers from the web widget: lets the website version of the agent transfer calls.
- Transfer announcement: the agent announces each transfer. Leave Announcement text blank for the default line (“Please hold while I transfer your call”) or type your own.
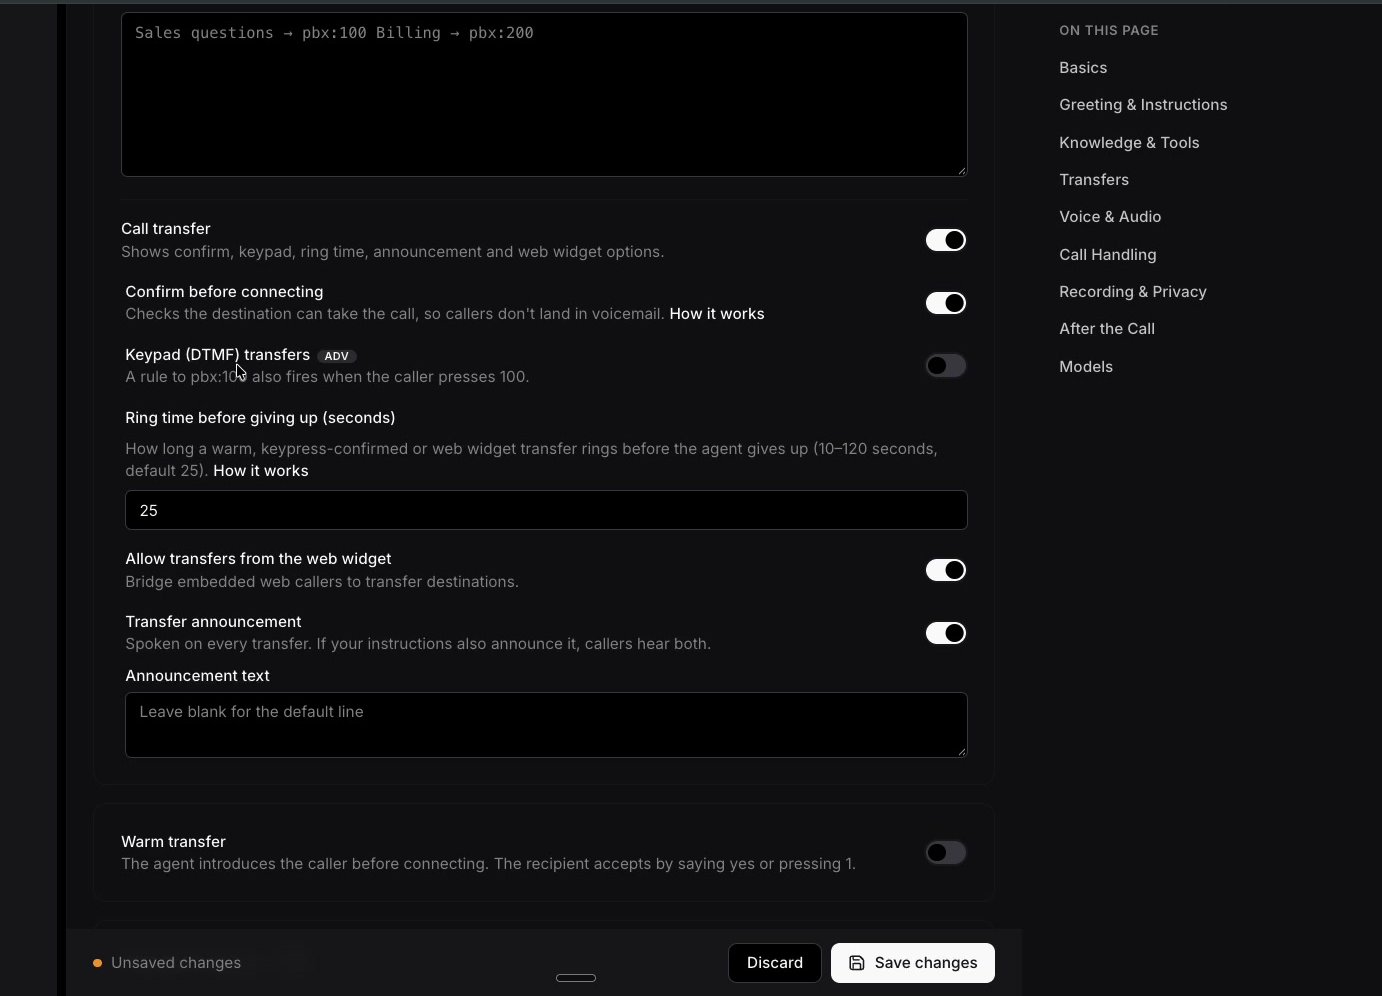
Call transfer options.
Warm transfer (optional)
- Warm transfer rules: which transfers should be warm. For example, “When transferring to customer service, first brief the destination about the subject of the call, then transfer to sip:8002”.
- Hand-off introduction (optional): what the agent says to the person receiving the call.
- Hold music (optional): click Upload file to add an MP3 or WAV of up to 4 MB.
- Pass through caller number: shows the caller’s number to the person receiving the call.
- Ring time before giving up (seconds): how long the destination rings before the agent takes the caller off hold, 10 to 120. The default is 25. The same setting applies to confirmed and web widget transfers.
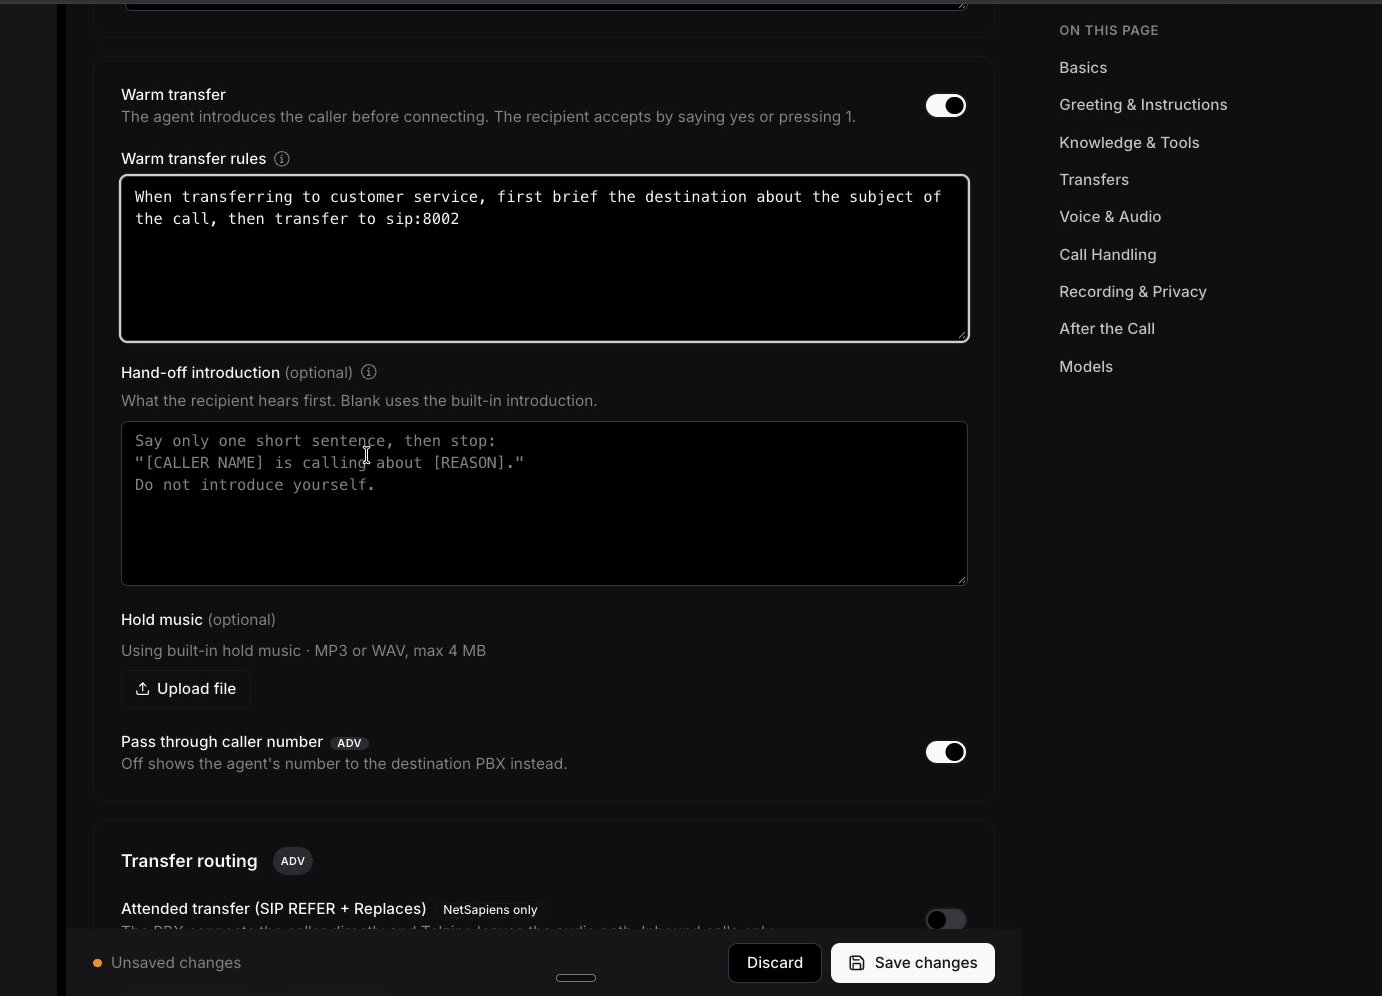
Warm transfer rule and hand-off introduction.
Save
4. Choose the voice and sound (optional)
The defaults work well. Change these to match the business.Language
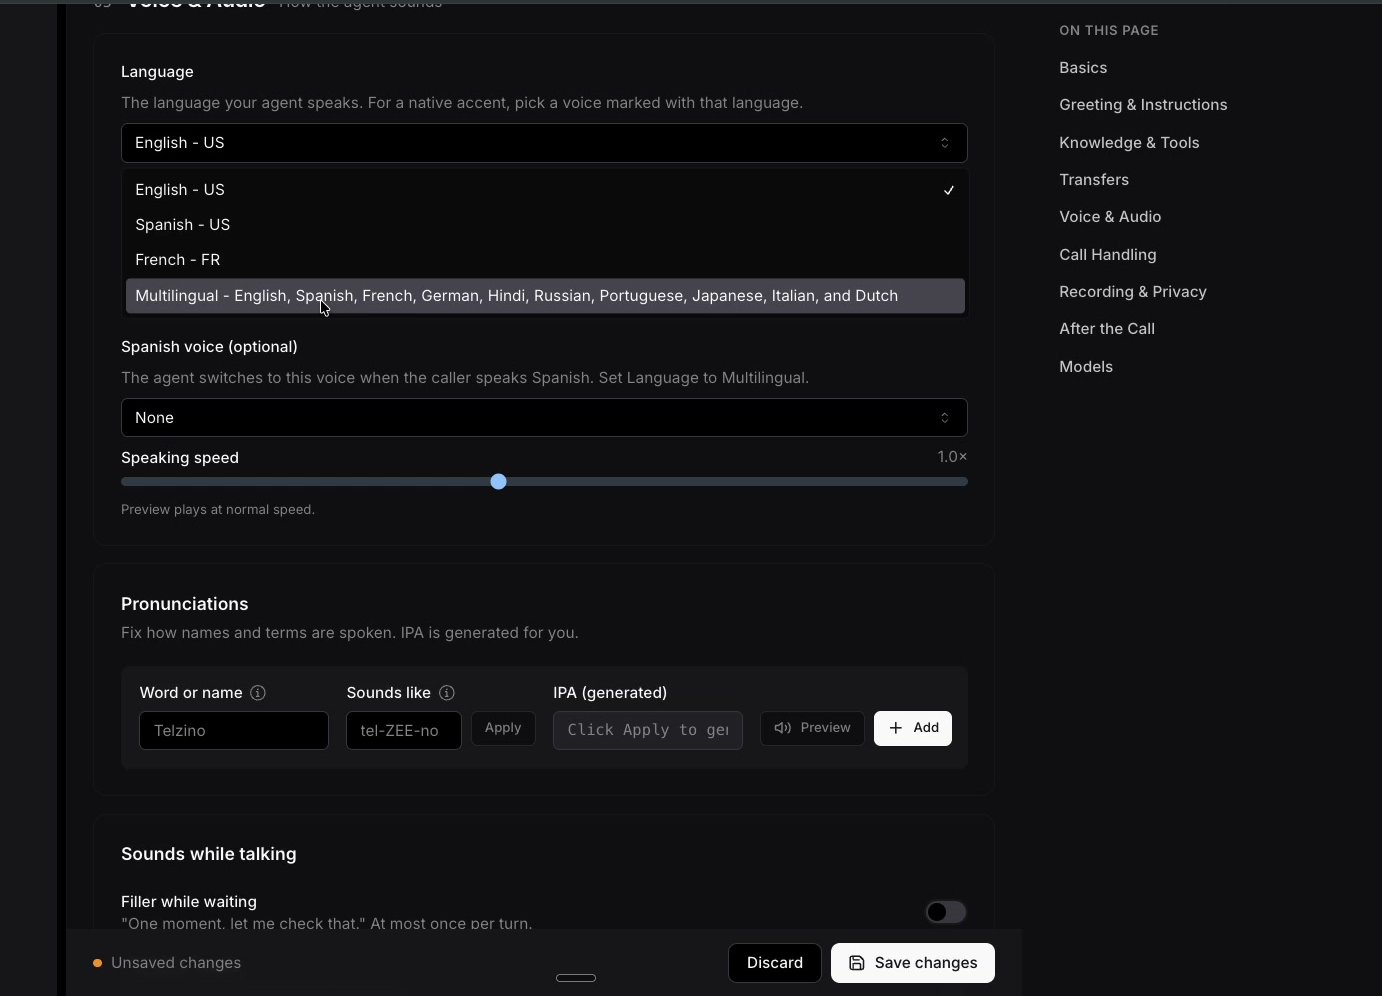
Language options.
Voice
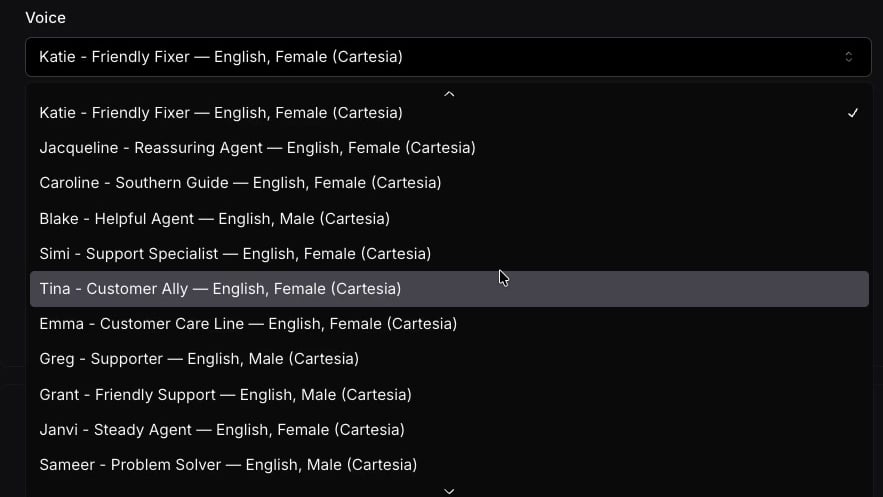
The voice list.
Pronunciations
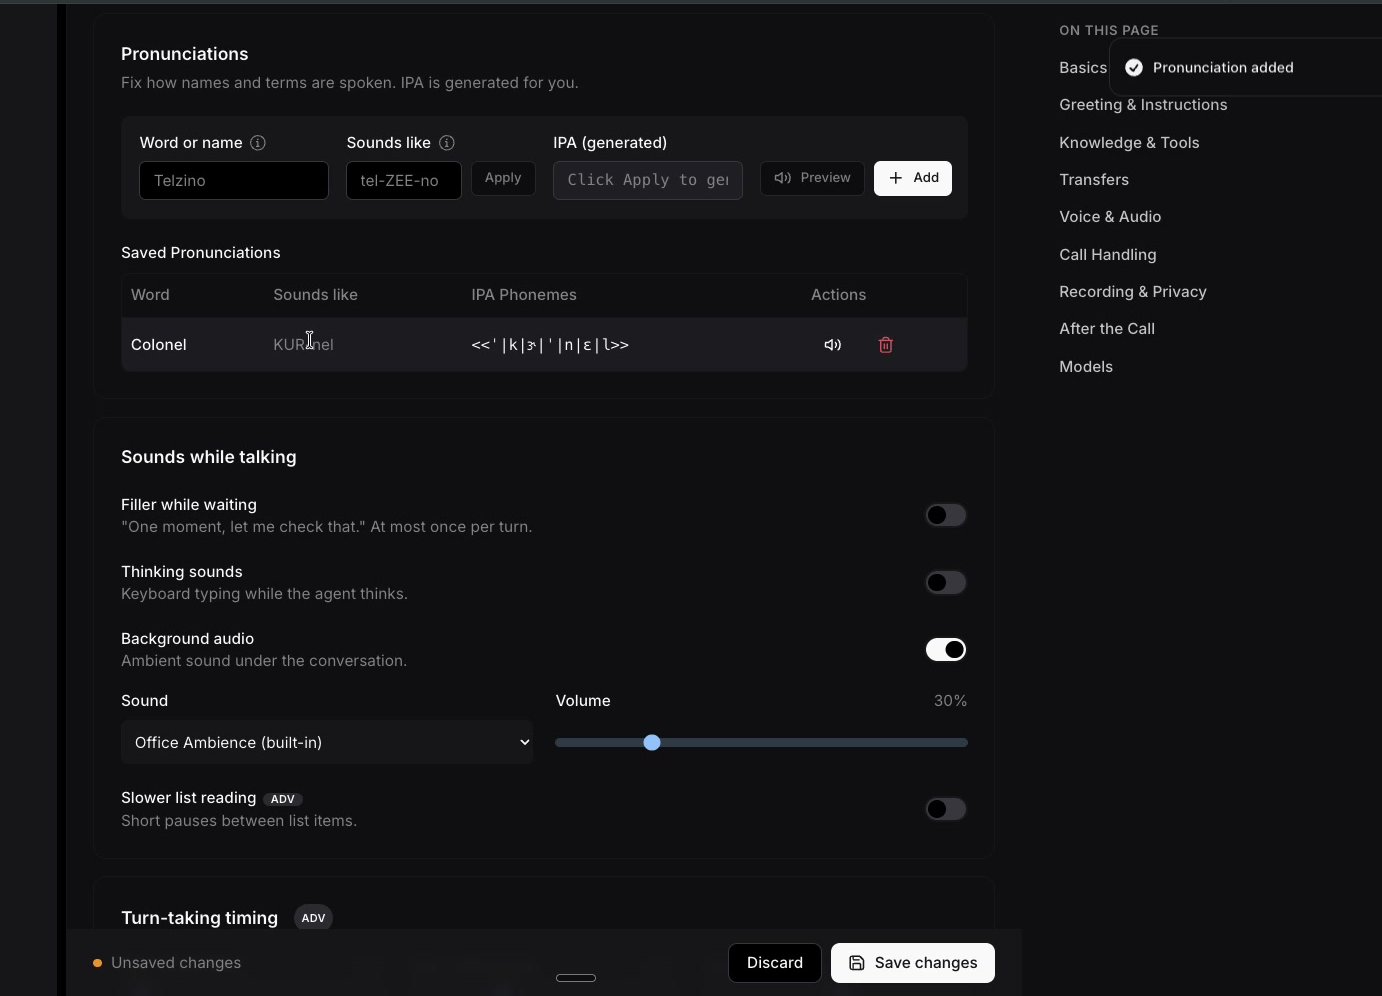
A saved pronunciation.
Filler while waiting
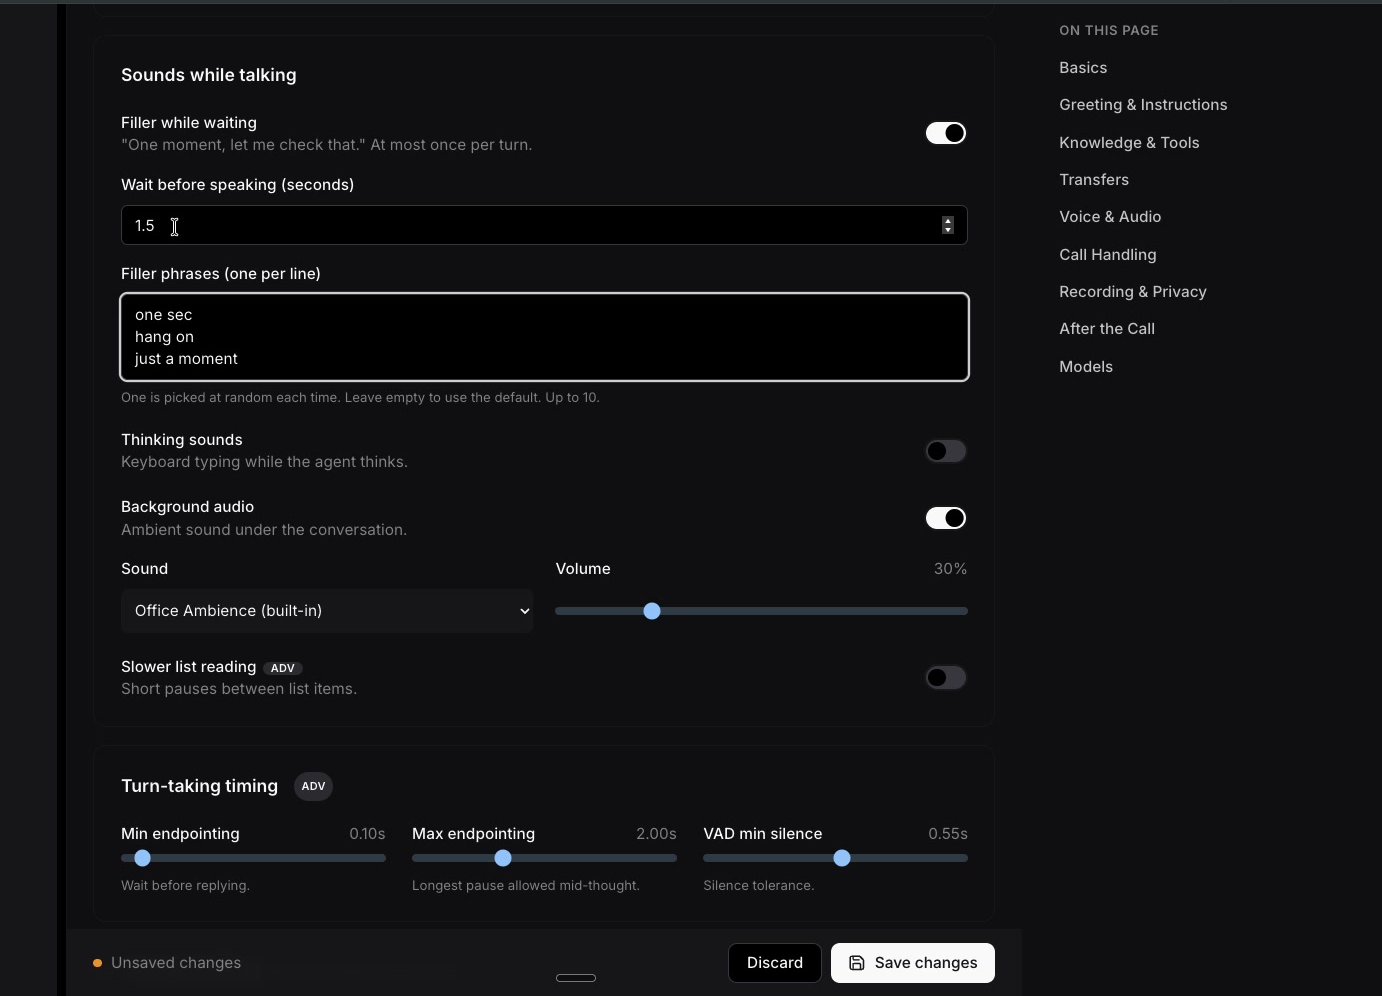
Filler while waiting, with three phrases.
Other sounds
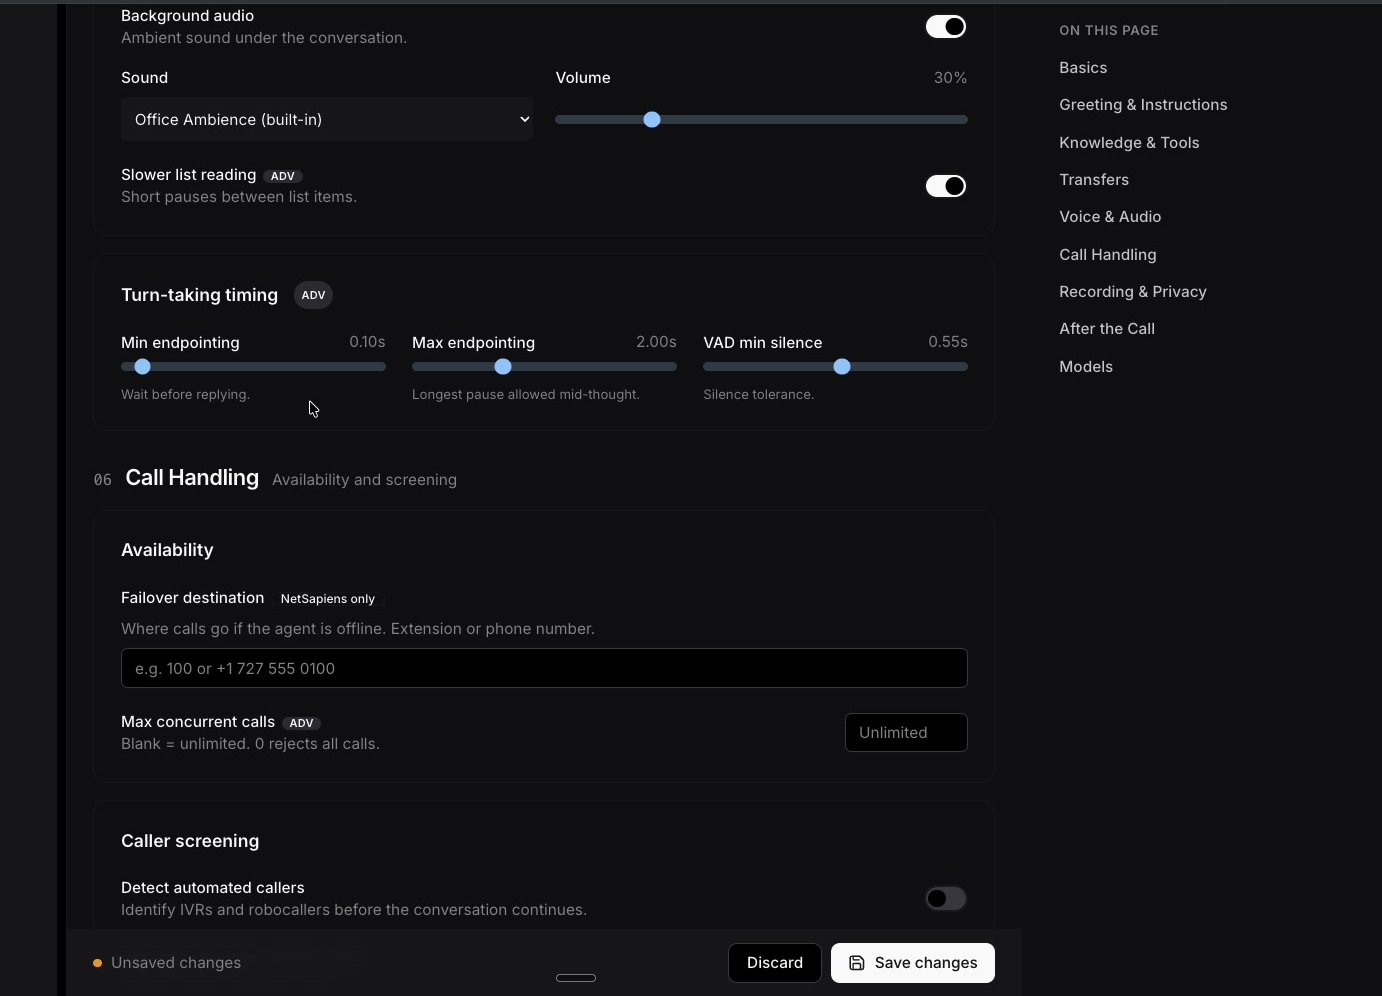
Background audio, slower list reading and turn-taking timing.
Save
5. Set call handling, recording and follow-up
These settings decide how calls are screened, recorded and reported.Call handling
- Max concurrent calls: leave blank for unlimited.
- Detect automated callers: hangs up on robocallers and phone menus.
- End calls with echo politely: ends calls on lines the agent cannot understand.
- Detect mobile callers: checks whether the caller is on a mobile phone.
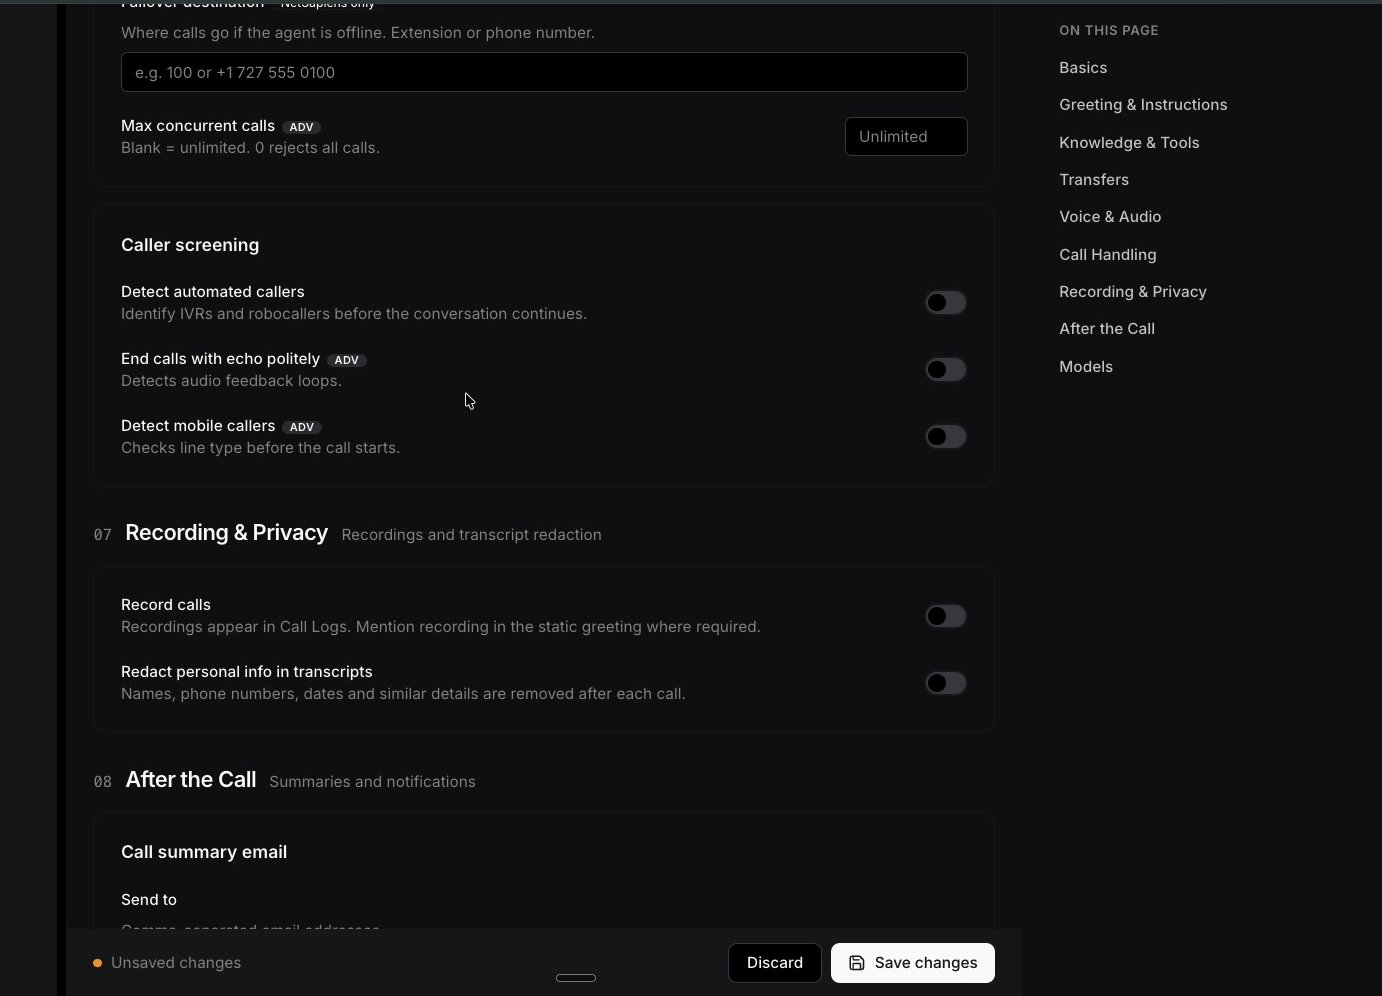
Call Handling and caller screening.
Recording and privacy
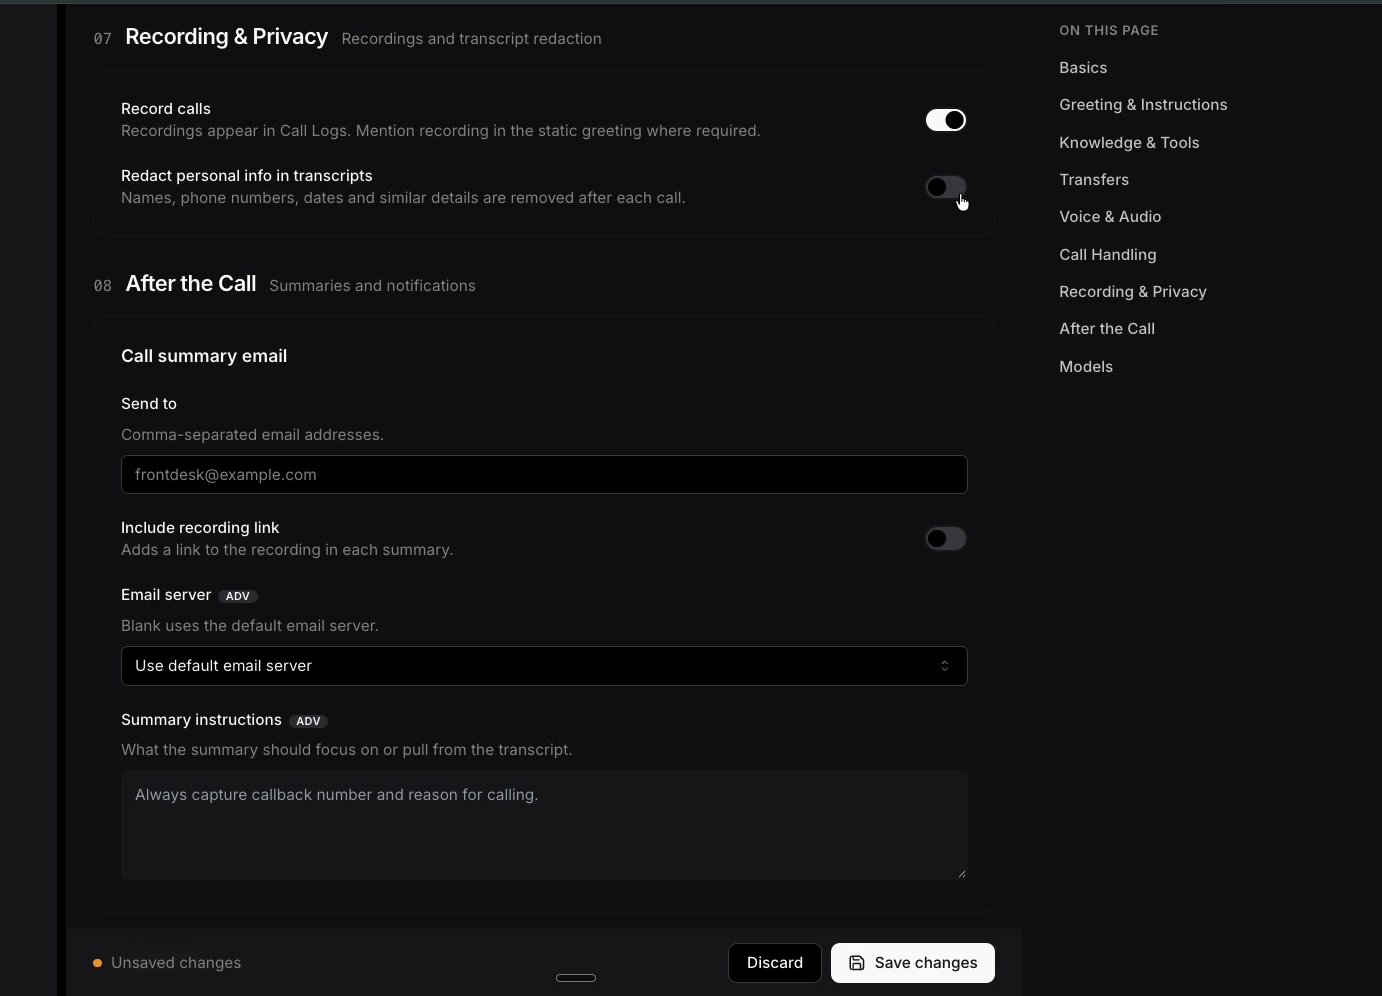
Recording & Privacy.
Call summary email
- Send to: the email addresses that receive a summary and transcript of every call, separated by commas.
- Include recording link: adds a link to the call recording. The link expires after 30 days.
- Email server: leave as the default, or choose the business’s own server.
- Summary instructions (optional): what every summary must include. For example, “Always include the customer’s account number as the first item.”
- Skip calls where the caller never spoke: on by default, so no summary email is sent when the caller said nothing. The call is still saved in call logs. Count keypad presses as a response keeps the summary when the caller only pressed keys.
- Skip calls shorter than (seconds) (optional): no summary email is sent for calls shorter than this, whether or not the caller spoke.
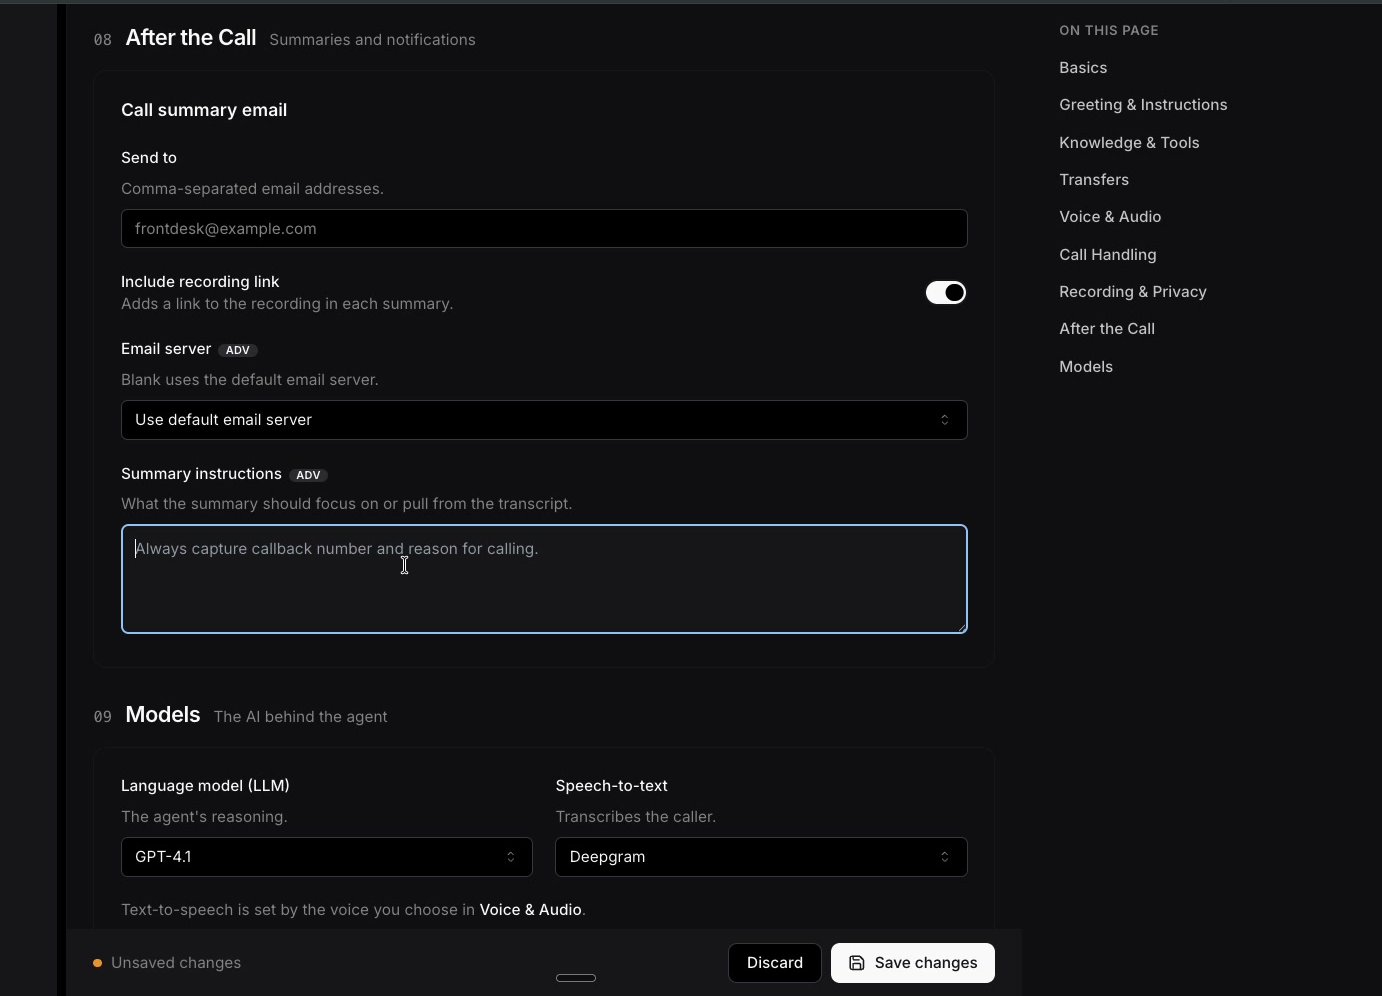
Call summary email settings.
Models
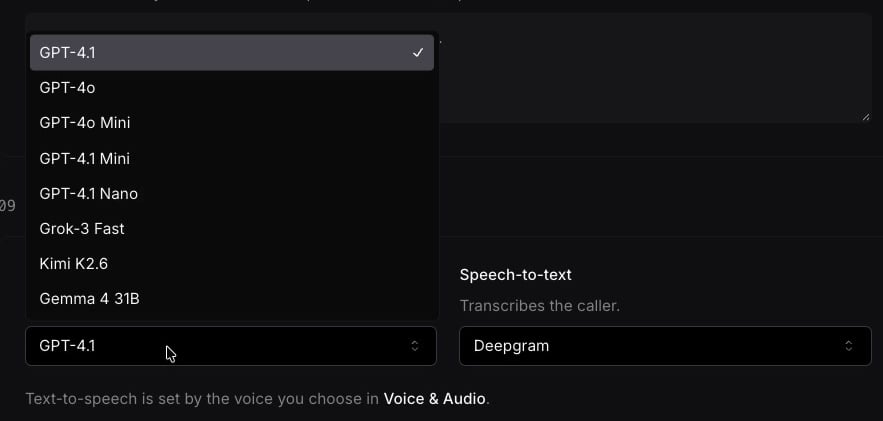
Choosing the language model.
Save
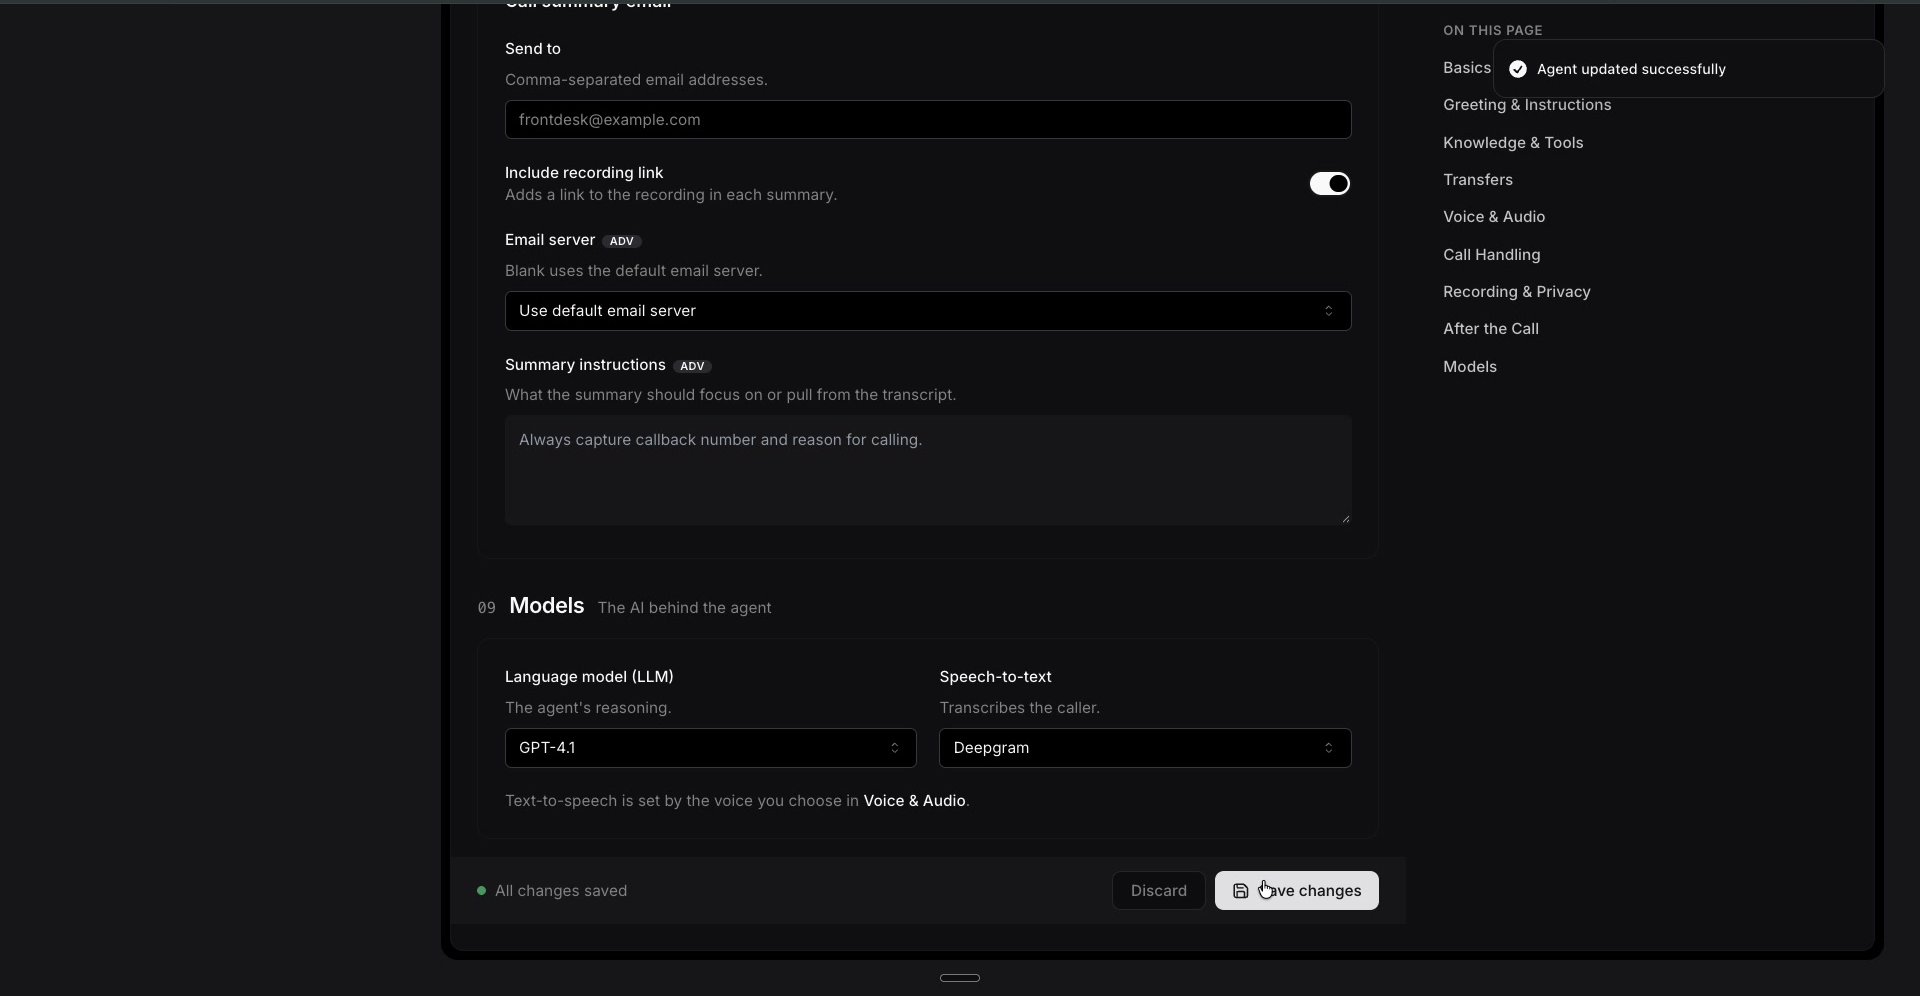
The configuration is saved.
6. Test the agent
Talk to the agent before it takes real calls. You need a computer with a microphone.Open the test playground
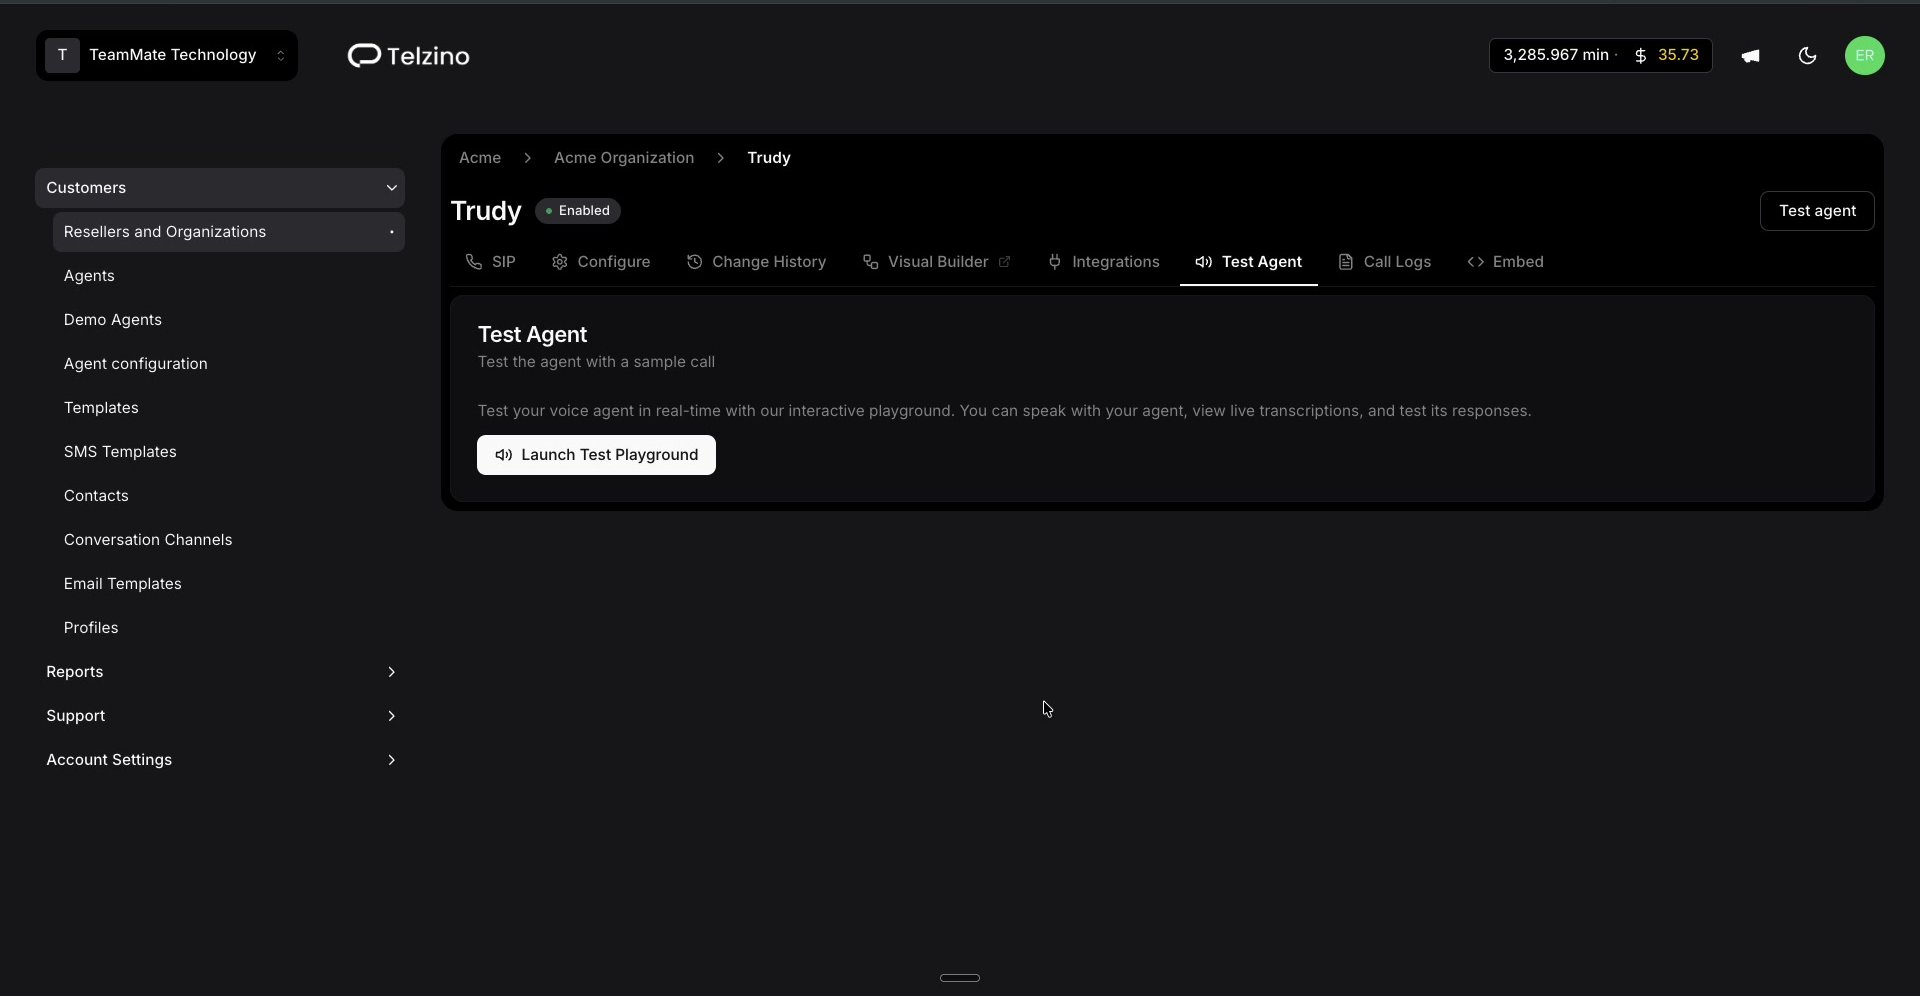
The Test Agent tab.
Start a conversation
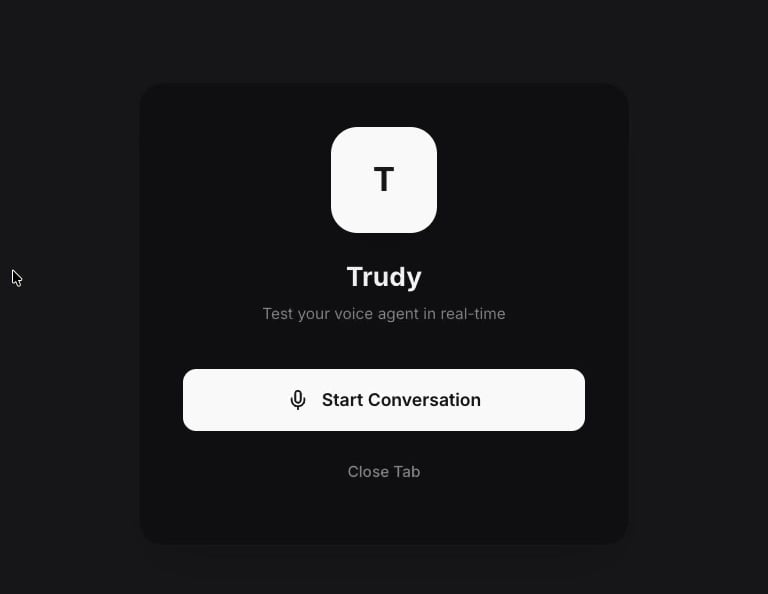
The test playground.
Talk to the agent
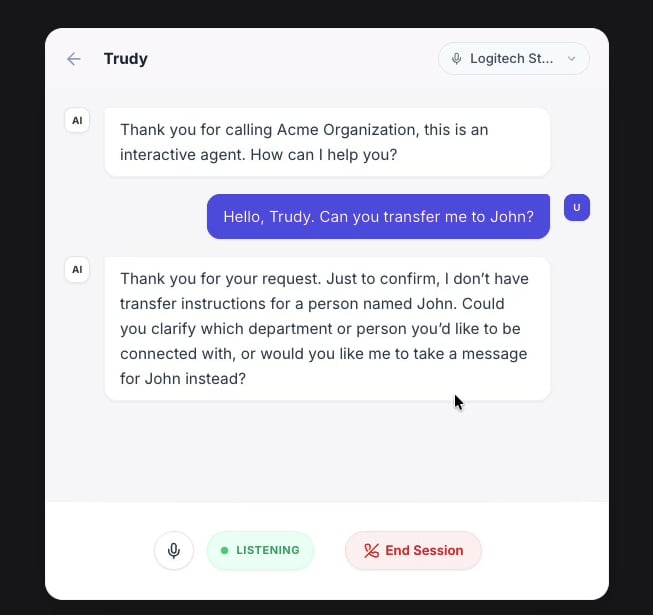
A live test conversation.
7. Connect integrations (optional)
Integrations let the agent work with other systems, such as a CRM, calendar or SMS. They must be Available in Feature Administration first.Open the Integrations tab
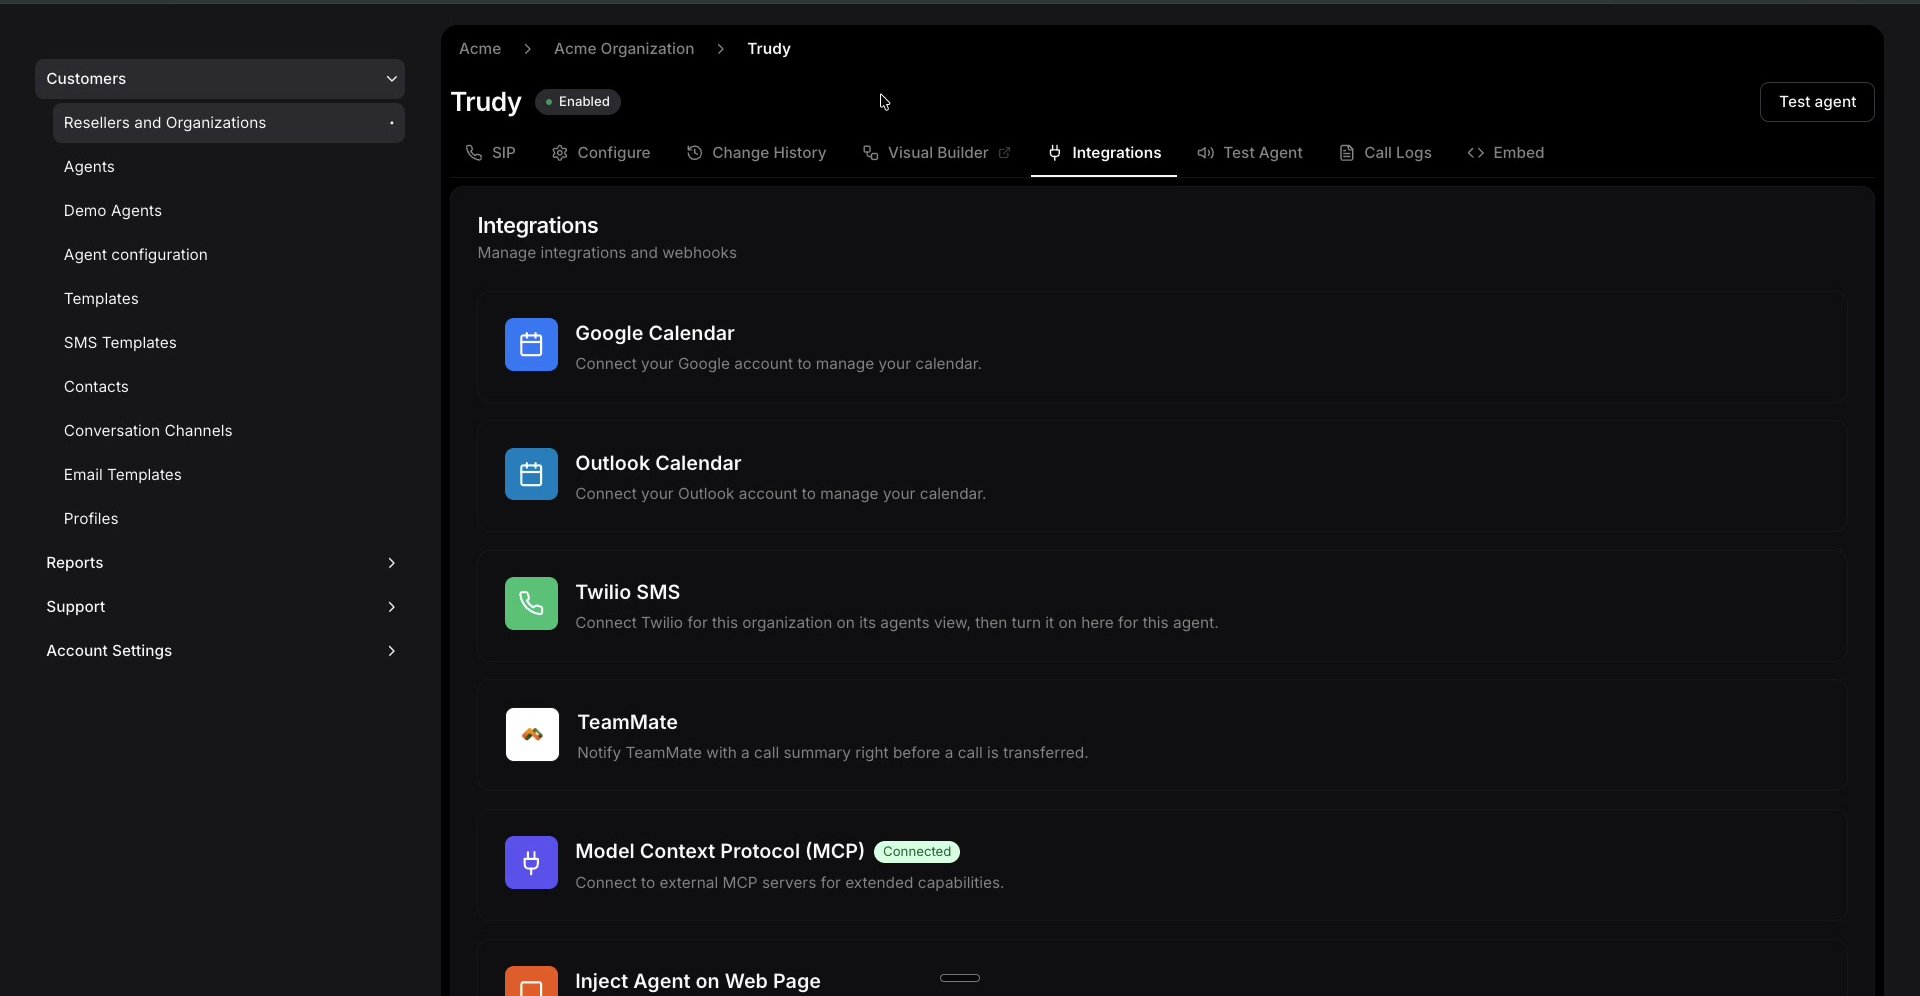
The Integrations tab.
Add an MCP connection
- Connection Name: a friendly name. For example, CRM.
- MCP Endpoint URL: the full URL of the MCP server.
- Transport Type: SSE or HTTP, to match the endpoint URL.
- Authentication Headers (optional): the JSON headers the server needs, such as an API key.
- Initialization Options (optional): leave as
{}if not needed.
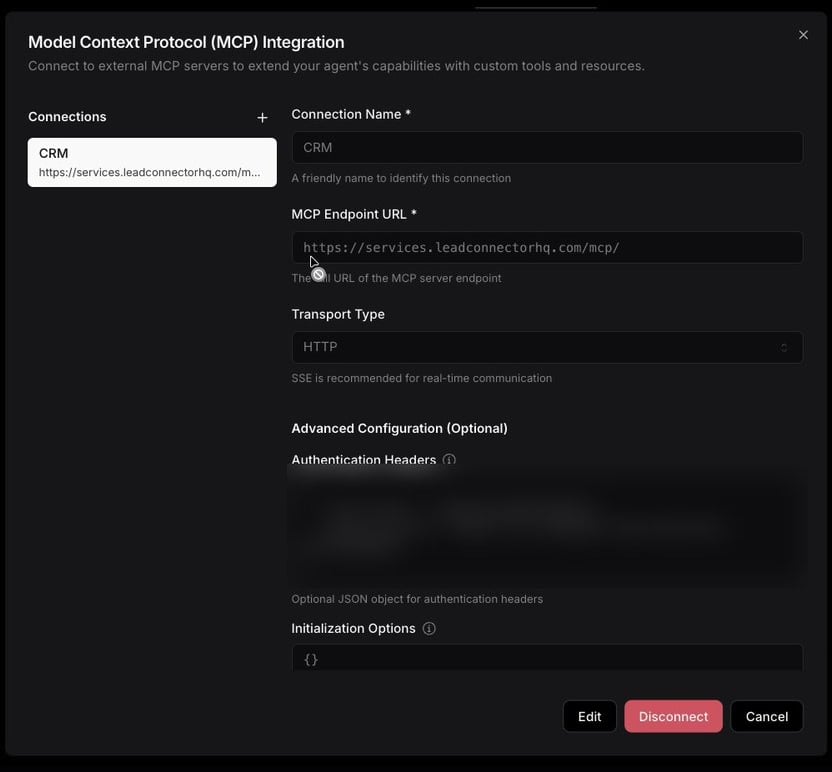
The MCP connection settings (authentication headers hidden).
Test and save the connection